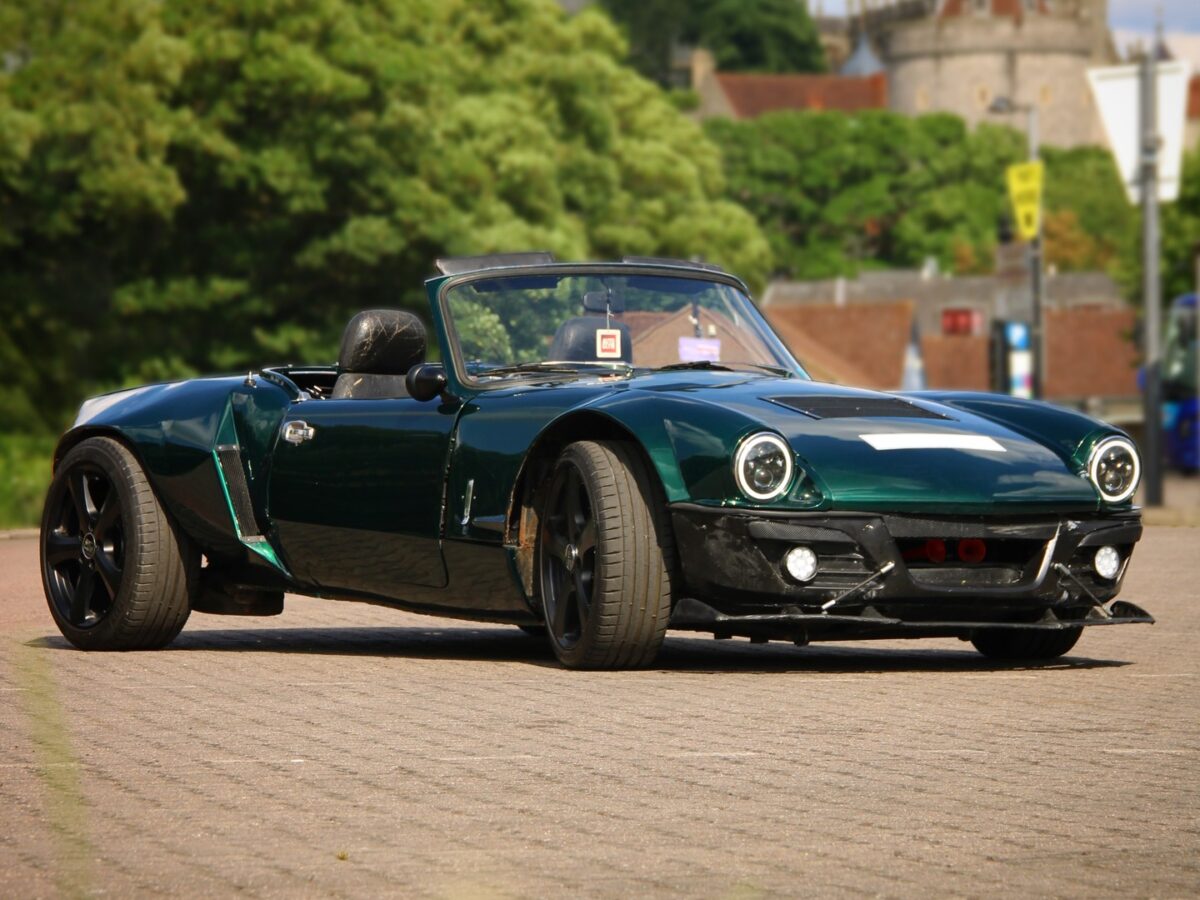
Building a new 1.8l 20 valve turbo
I have now started building a new engine for my car, the original engine was mainly built using second hand parts scavenged off friends and eBay. This engine will be 100% new, every component will be the best i can buy – not going cheap on this one!
A few months ago I bought a cheap 20v 1.8T from a VW Golf, looking at it I could see it was a high mileage engine, the rings were shot, but it was in OK – this will be the base of my new build.
Parts list..
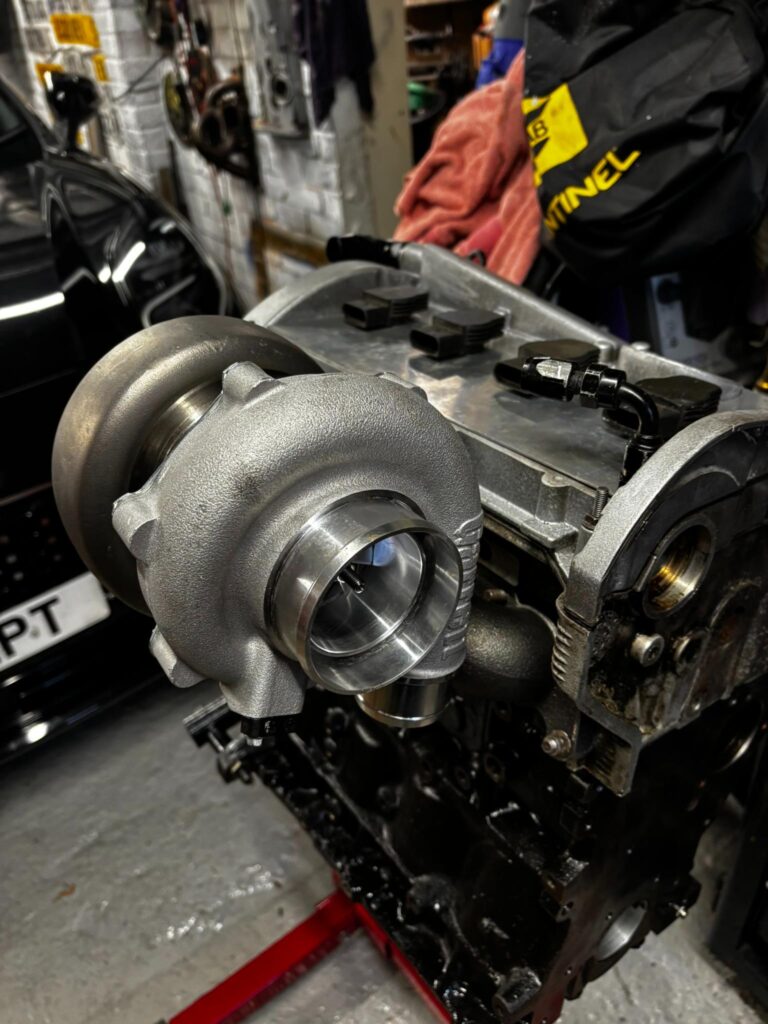
- Garrett G30 660 turbo
- Supertech single groove valves and double valve springs (Nitrade inlet, Inconel exhaust)
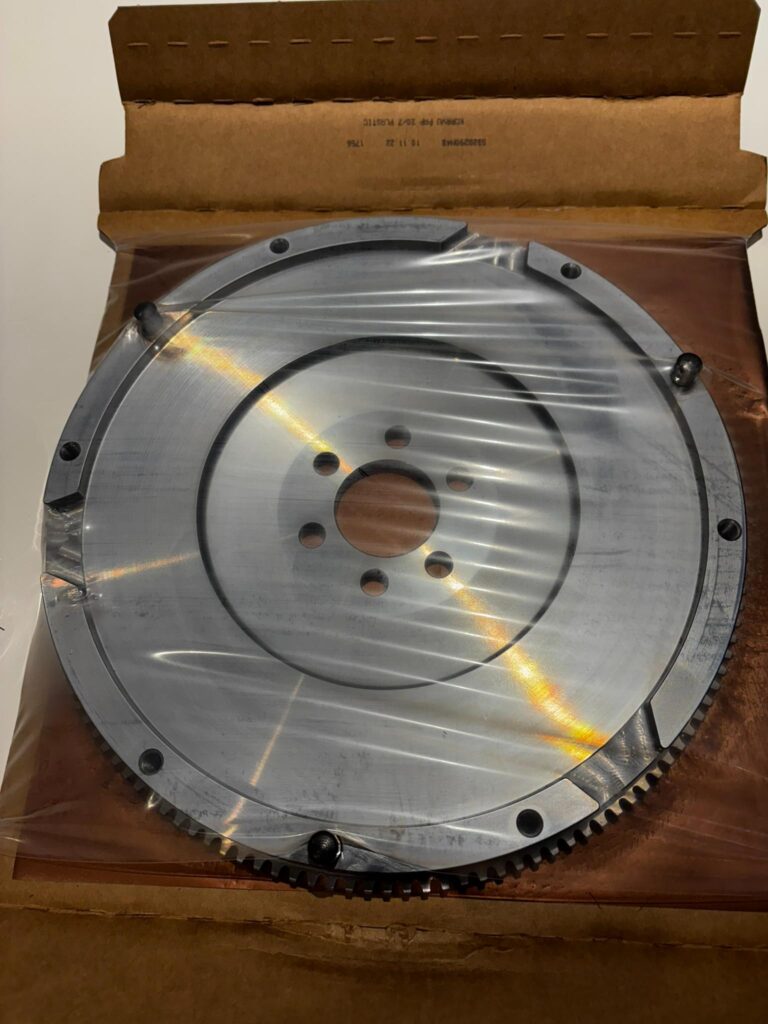
- TTV Racing single mass flywheel and R/S4 2.7T Clutch
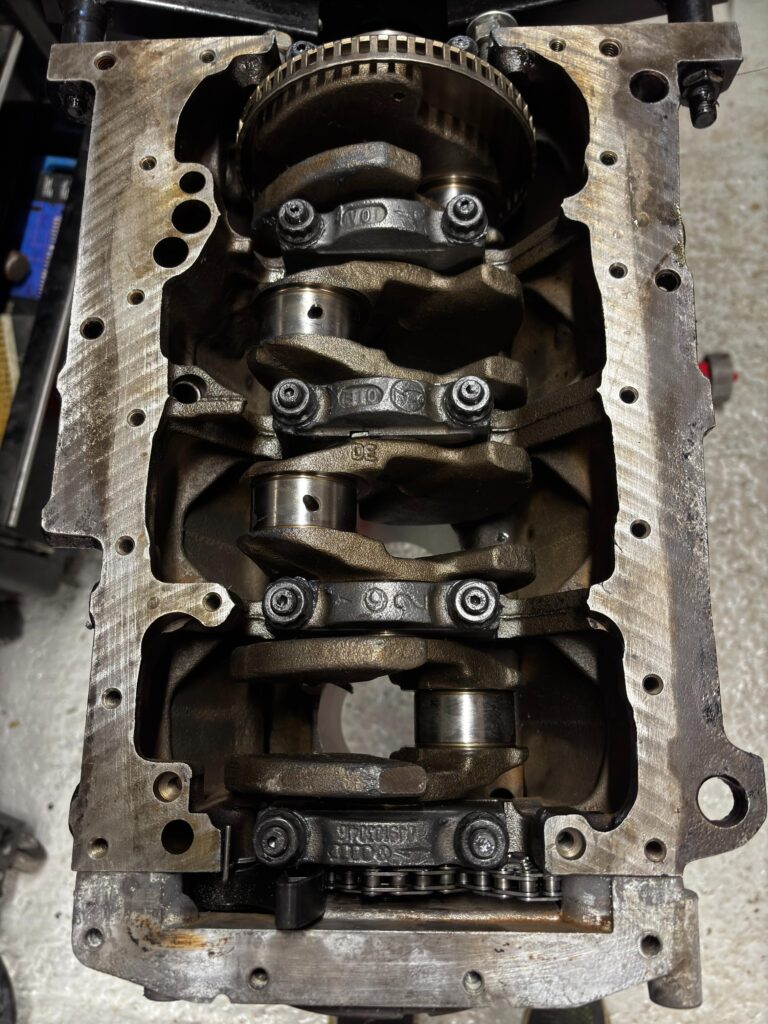
- ARP bolts throughout (main bearings, crank pulley, head bolts, conrod bolt)
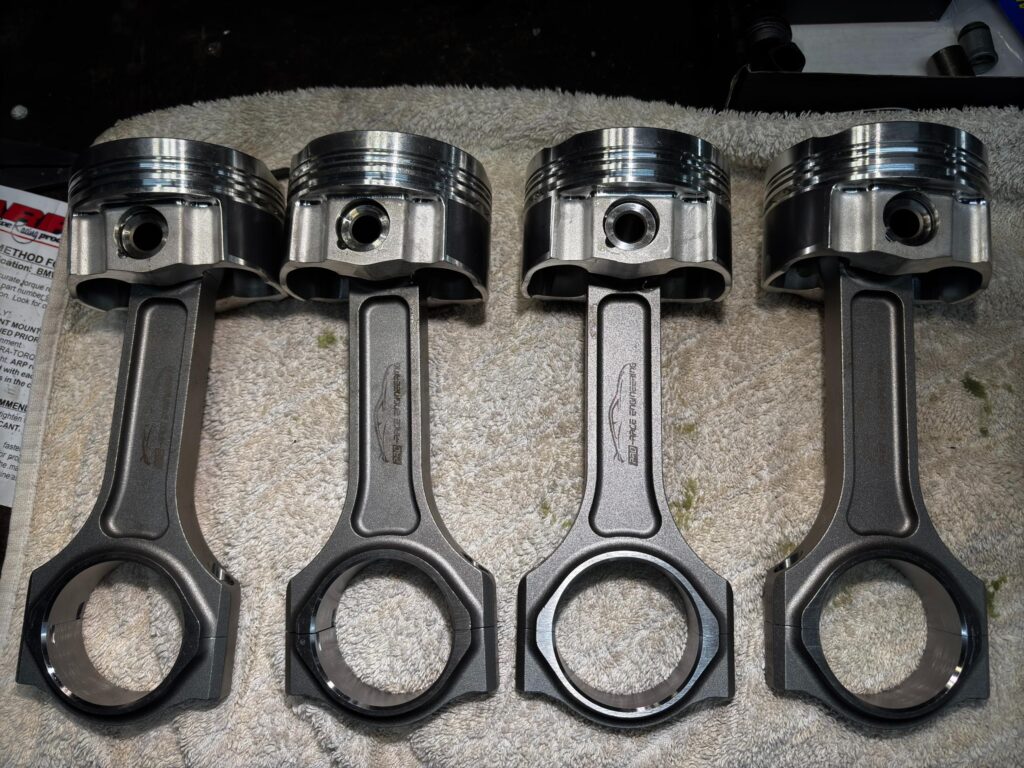
- 82mm JE pistons
- ProRace forged rods
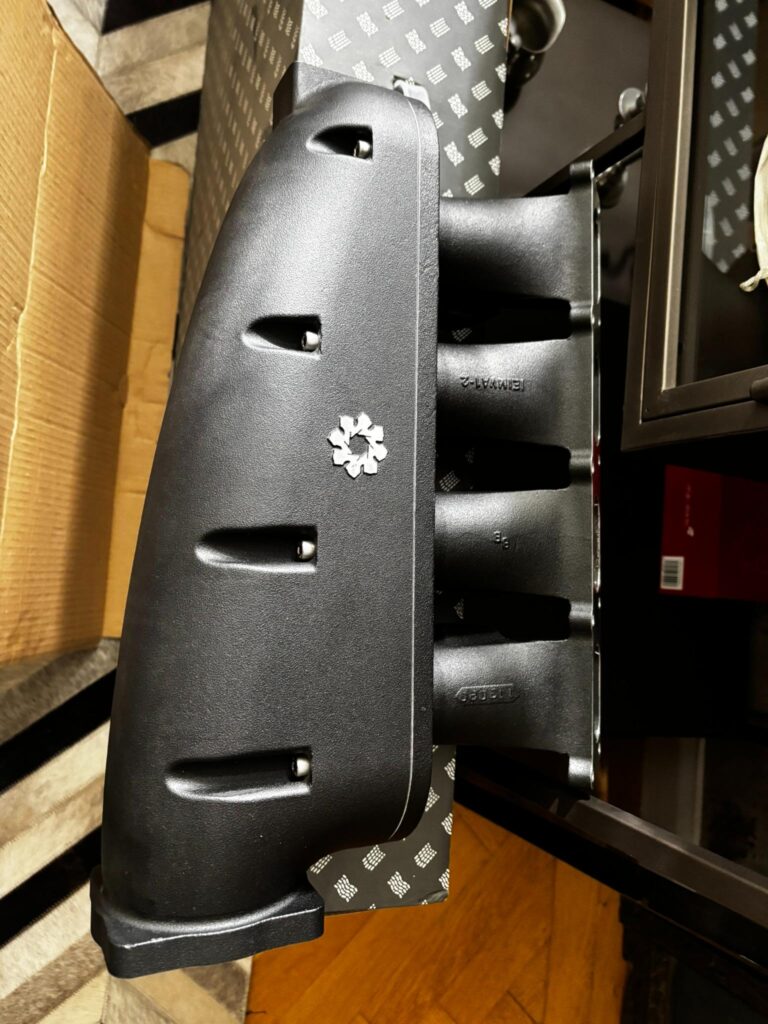
- IE intake manifold
- ACL racing bearings
- New crank pulley and dowel kit
all new gaskets, seals, chains, tensioners – you name it, its new.
This is a quite comprehensive 1.8T engine tightening sequence and torque settings. I have included the ARP bolts where I have fitted them.
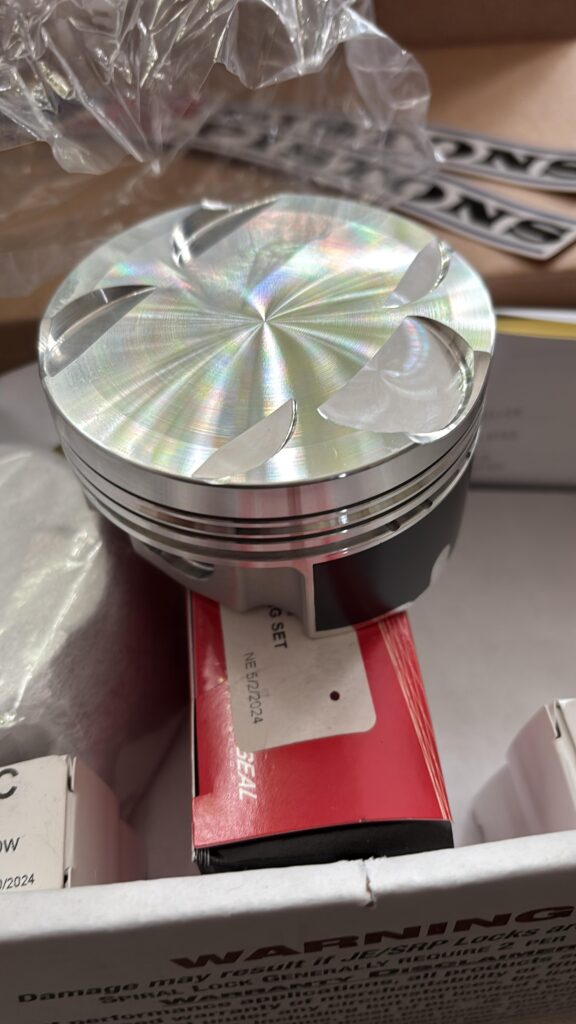
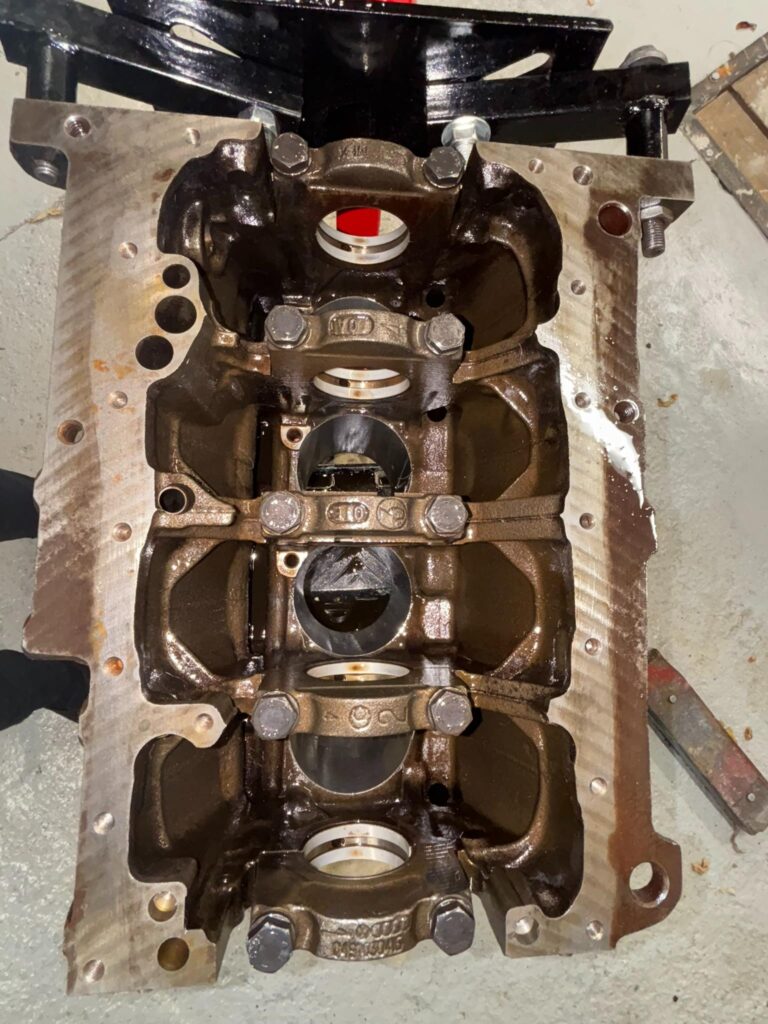
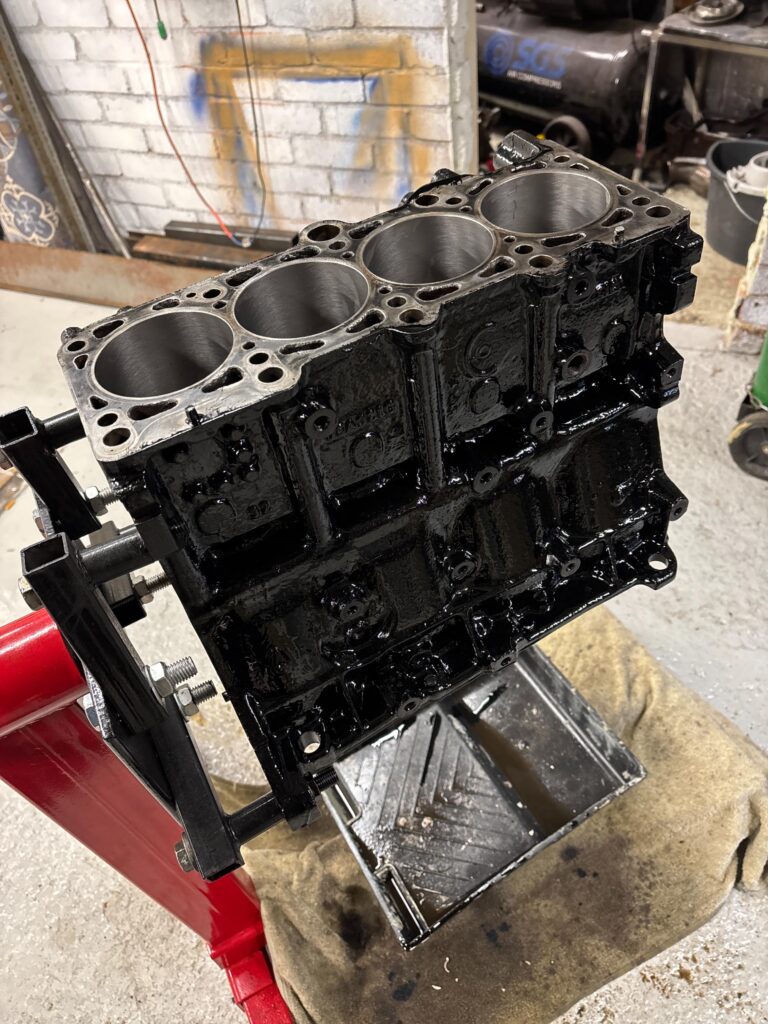
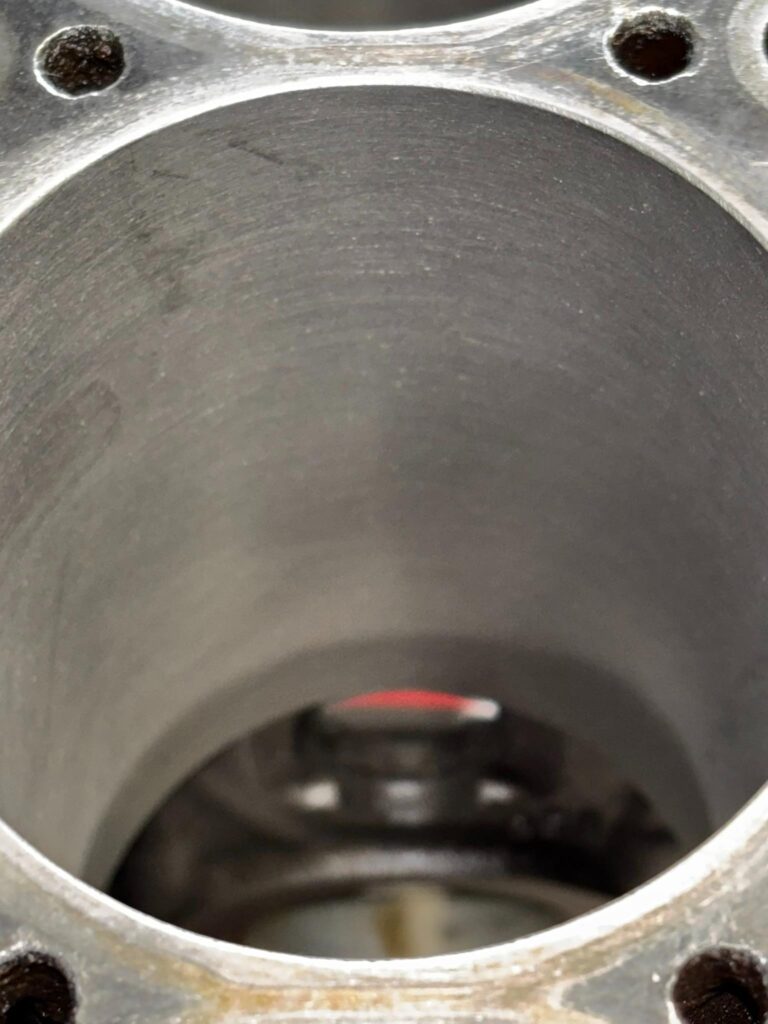
I started by having the block bored and honed to suit my new pistons. This was done by JR Engineering 07737749556 in Slough. The quality of their machine work is awesome and the price was very reasonable. They also polished the crankshaft.
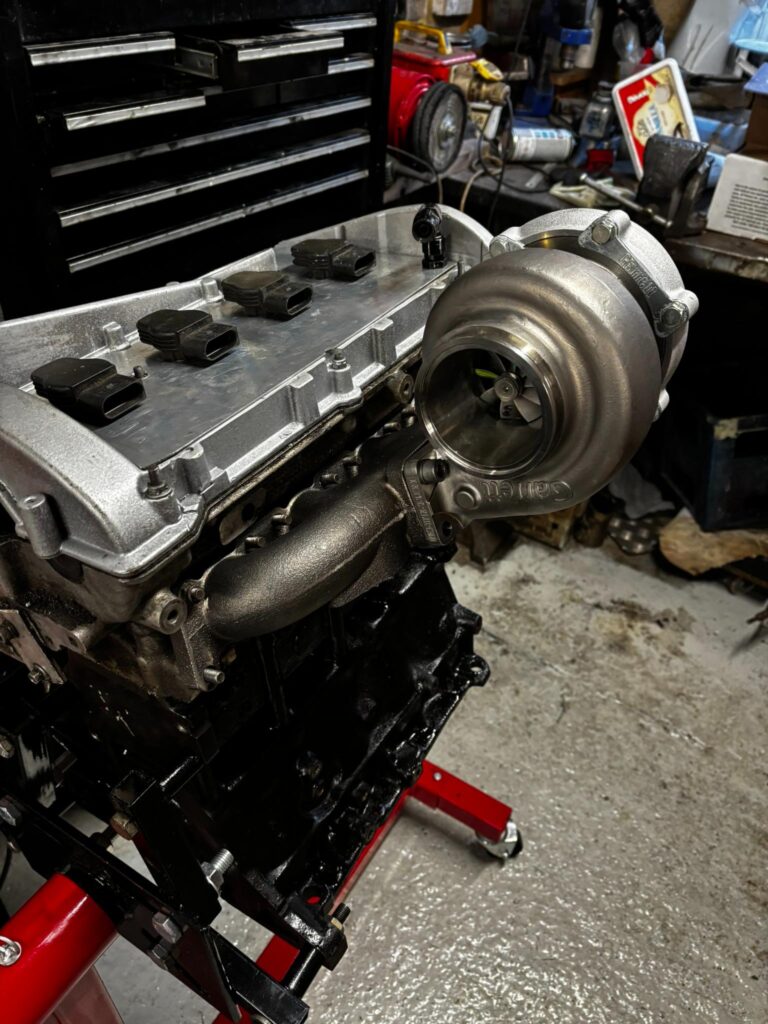
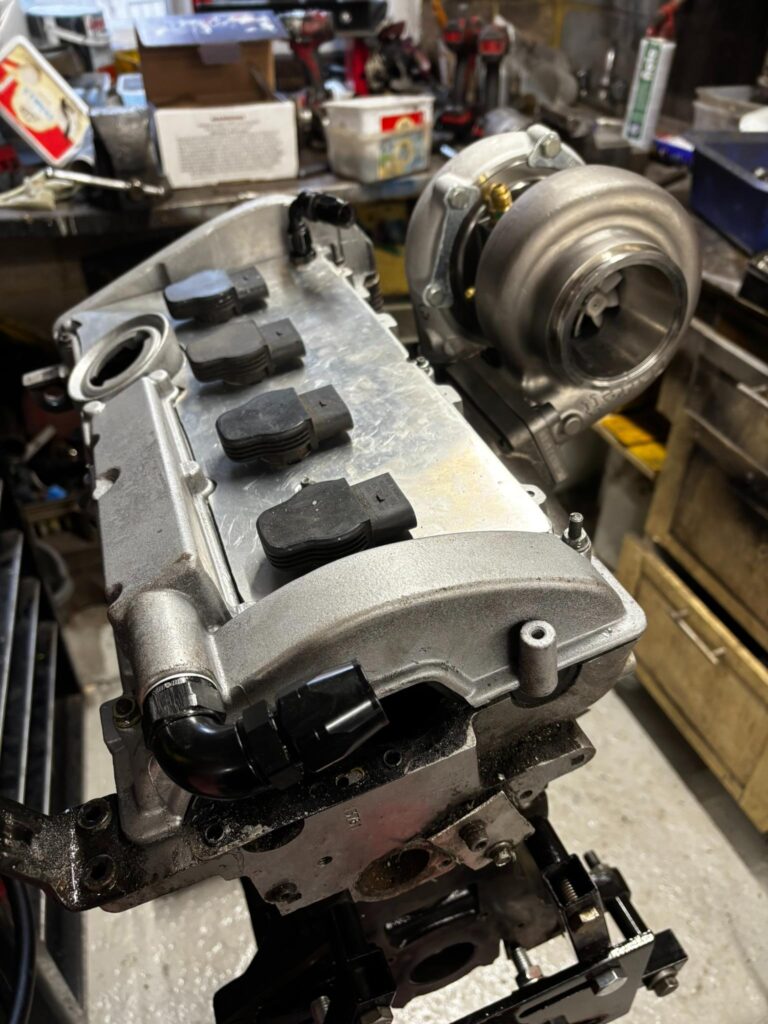
For a bit of fun I mocked up the turbo on a spare head.. Its a BIG TURBO!
I have fitted the crankshaft with the new ACL main bearings and ARP studs and nuts. I have also now assembled the pistons with their con rods. I can not fit them until I gap the piston rings correctly.
5th November 2024
Today I gapped the rings and fitted the pistons. I was dreading doing the rings after watching a program called “Roadworthy Rescues”. the mechanic, Derek Bieri, did this to a V8 and kept saying how hard it was.. (at least I thought he did..) I bought a grinding tool on eBay.. I fitted the rings about an inch down the bore and checked the gap, then stuck them on my grinder and took tiny amounts of metal from the ends. I set the top rings to .0016″ and the second to .0018″. the oil rings were ok with a minimum gap of .0015″
Then I used my trusty ring compressor and pushed them in – with lots of lube! when the engine turns over it makes a nice reassuring noise.
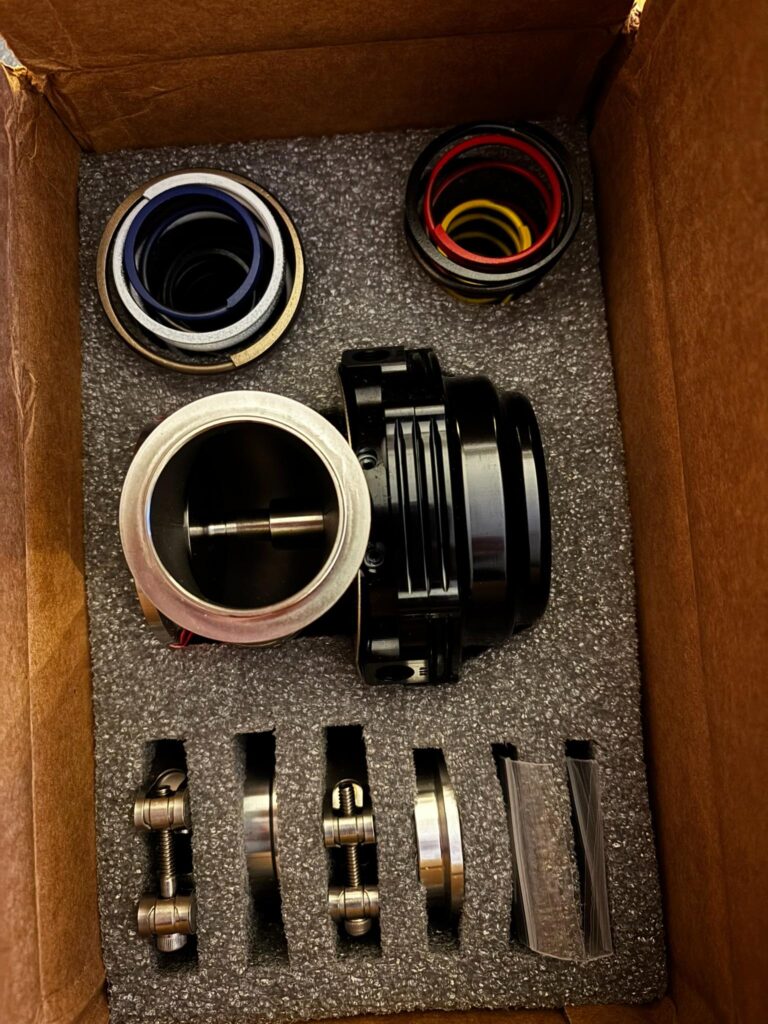
I also received my AliExpress 44mm “Made in USA” Tial wastegate and a vacuum exhaust valve i will use to open up the exhaust on full throttle
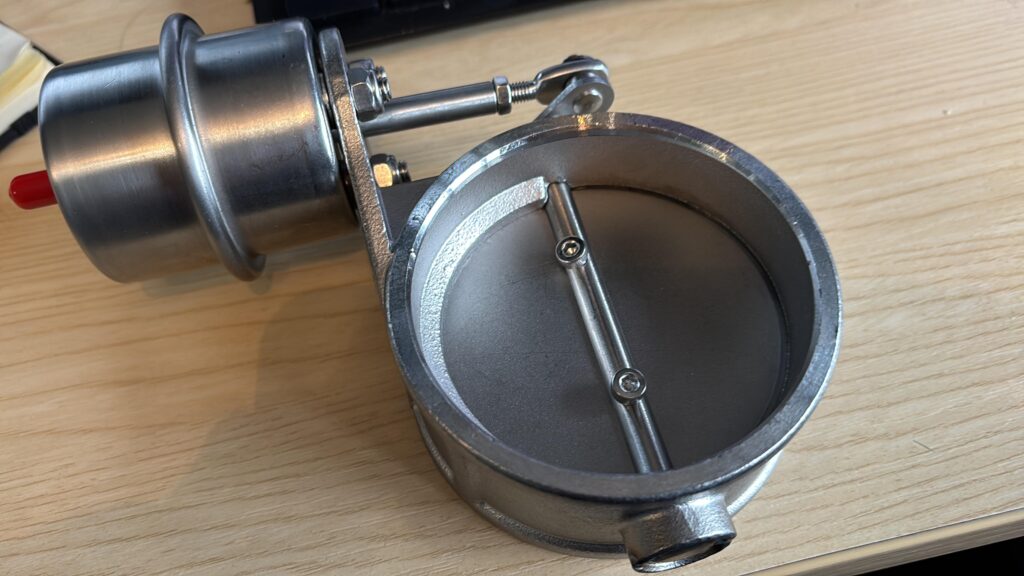
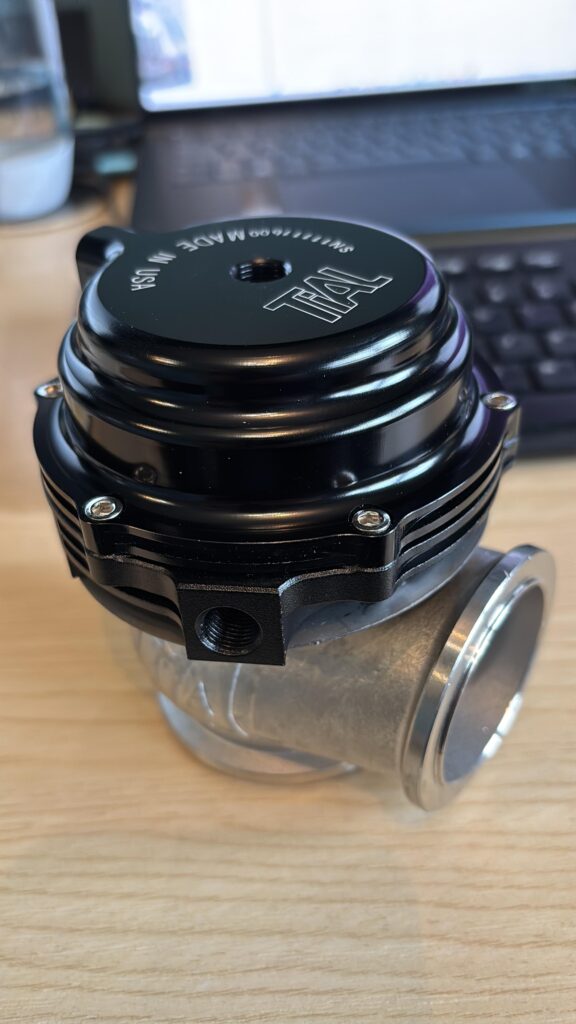
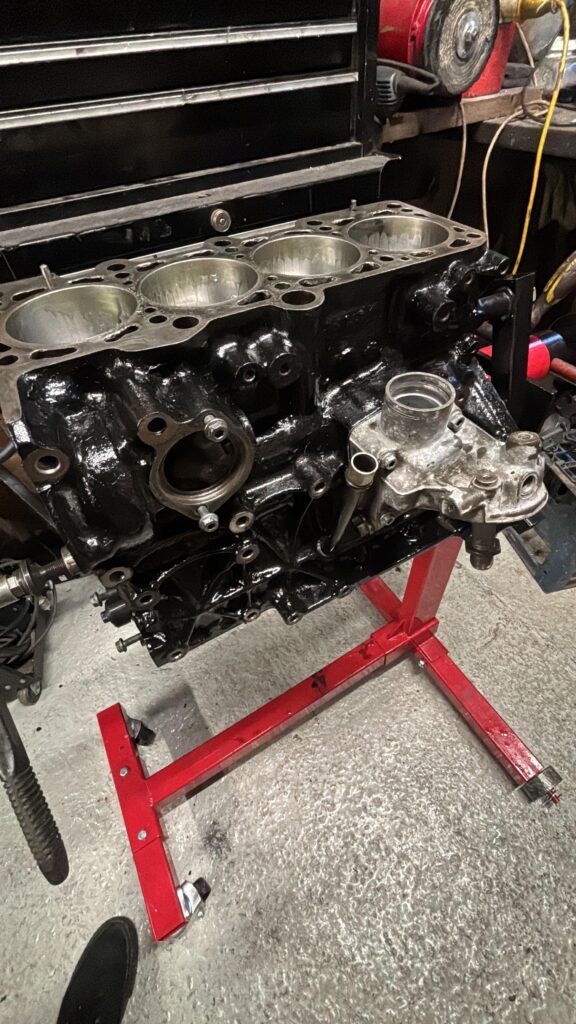
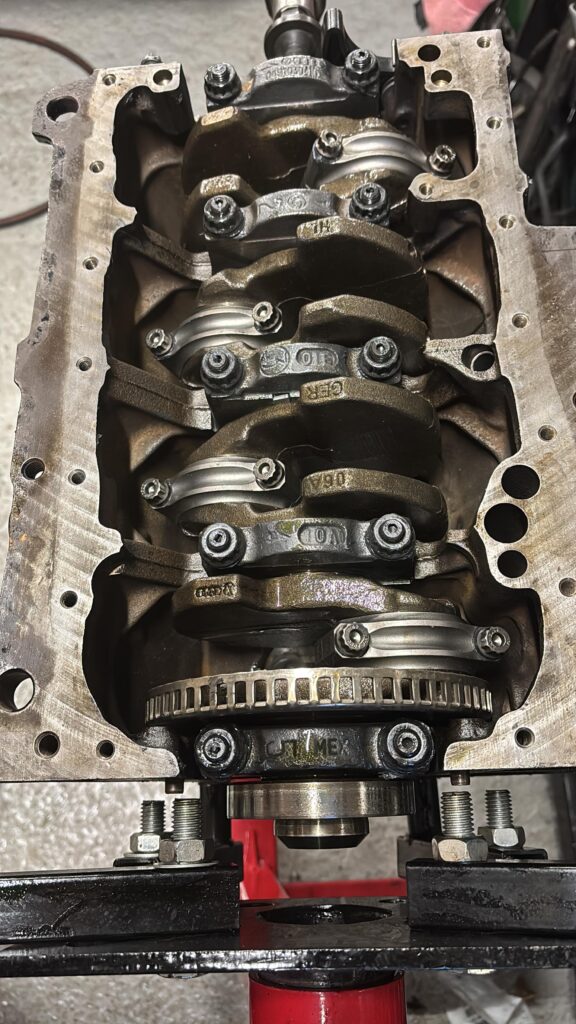
7th November 2024
My new front crank pulley was a bit of a challenge, firstly it is dowelled onto the crankshaft and secondly I am using an ARP bolt.
Drilling the crank.. The ProRace kit comes with a reamer and and a drill bit and 2 dowels
I was quite nervous about fitting it, as failure means losing your crankshaft! But I went for it anyway. I pushed the new front pulley onto the crank, the pulley comes pre-drilled with 2 dowel holes. I put some tape round the drill bit to mark the depth of the dowels. Then, very carefully i used the holes in the front pulley as pilot holes and drilled through into the crank. The holes in the crank are VERY close to the big bolt hole in the middle. Very slowly I kept drilling until i reached the tape mark. Then using the supplied reamer I reamed the holes until they were the perfect depth for the dowels – Phew..
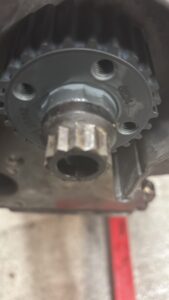
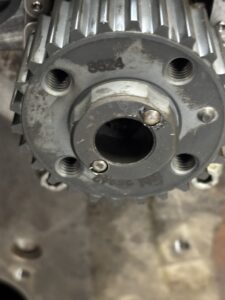
I then pressed out the old oil seal in the front oil pump chain/crank oil seal, coated the housing with Blue Hylomar and fitted the front cover, torquing to 10nm
Next was the front pulley and ARP bolt.. The bolt needed to be torqued to 105Nm plus a 1/4 turn with Loctite. I got to the 105Nm easily using my torque wrench, but the 1/4 turn was impossible without a scaffolding pole! The 1/2″ drive 3′ long bar i used was almost bent, but I got it about a 1/3 of that 1/4.. its not going anywhere.
10/11/2024
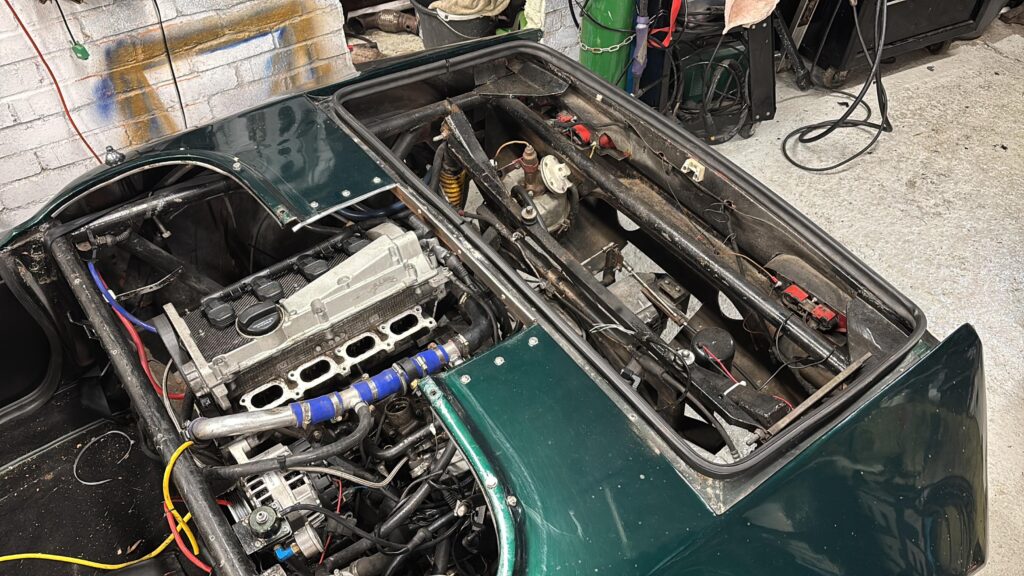
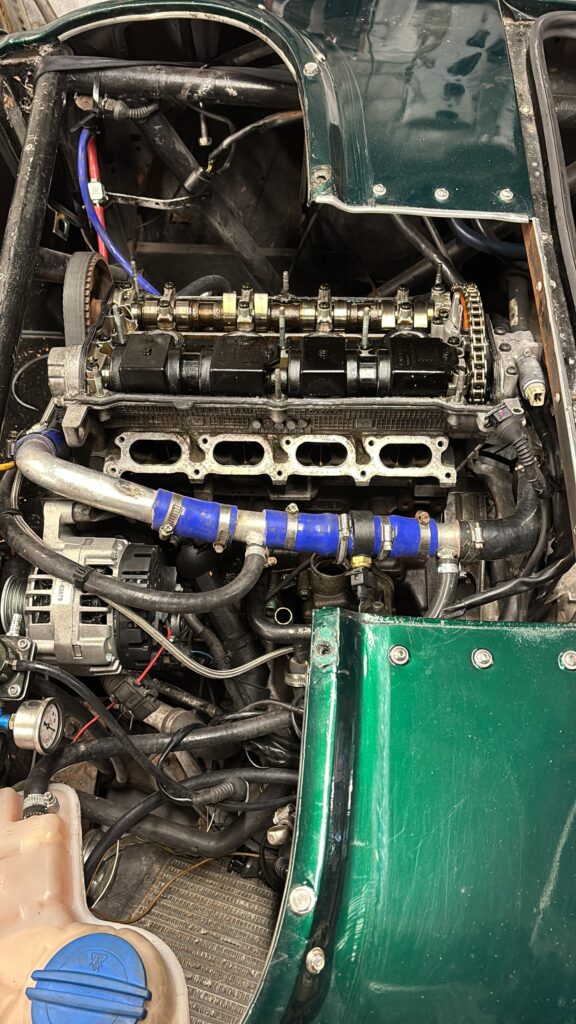
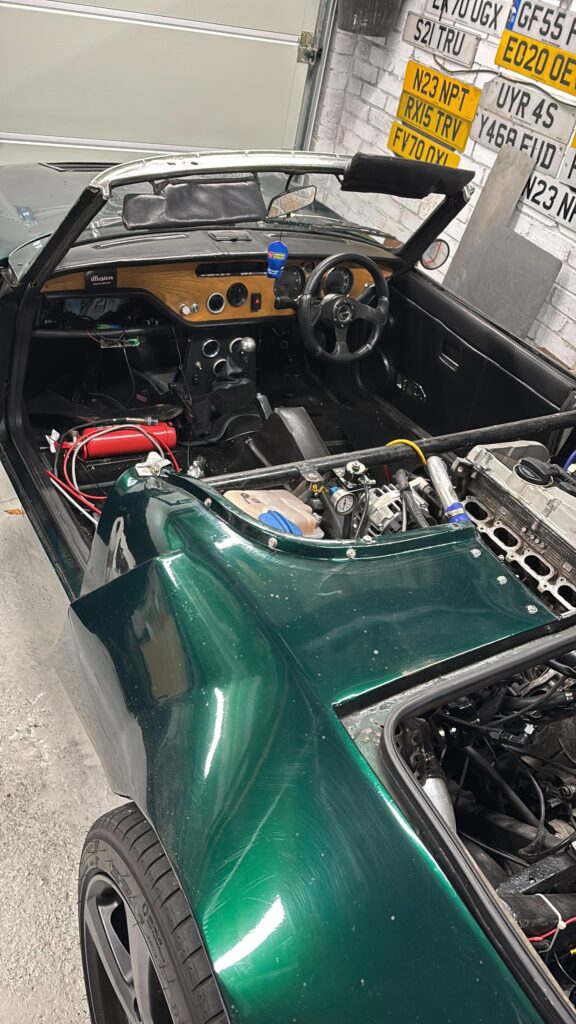
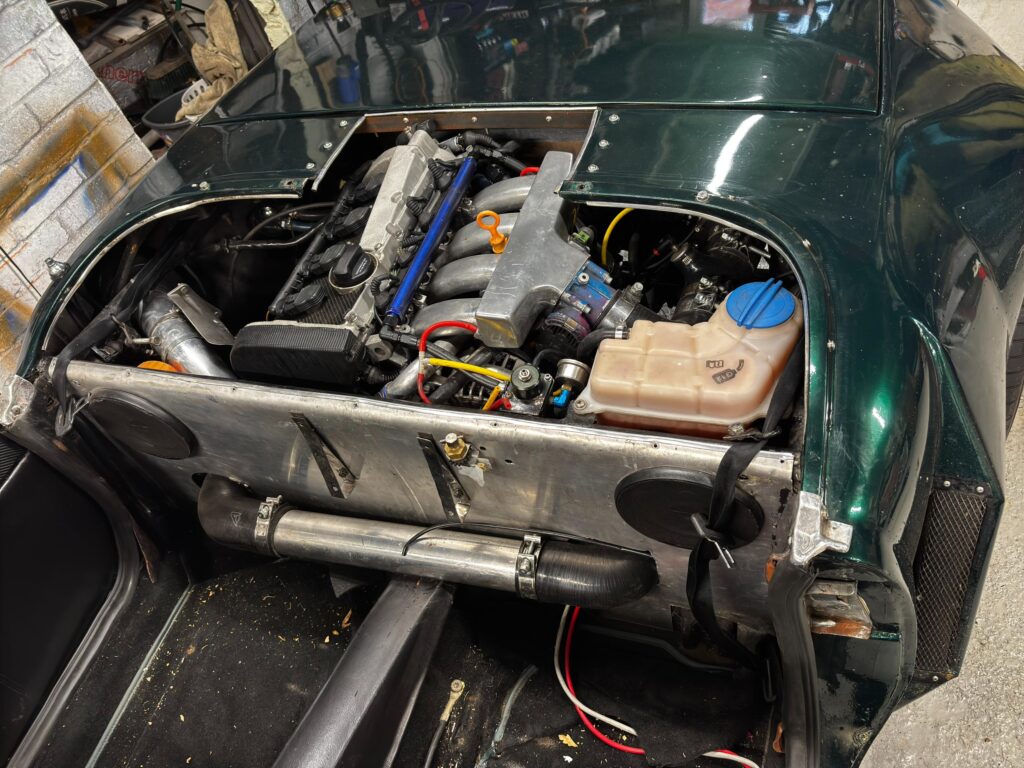
I started the day by taking the car to a car meet at the Pinewood Hotel @ Wexham Park Ln, Slough SL3 6AP, We have a car meet there on the 2nd Sunday of every month. When I got home at about midday, I started stripping the car down. First job – remove the seats. These are going off to be reupholstered by a friend of mine who runs her own car upholstery company called Funky Bugs https://www.facebook.com/funkybugsupholstery
The seats will be black faux leather with green Alcantara centre and a logo on the headrest

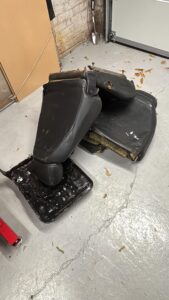
Then on to stripping the car down.
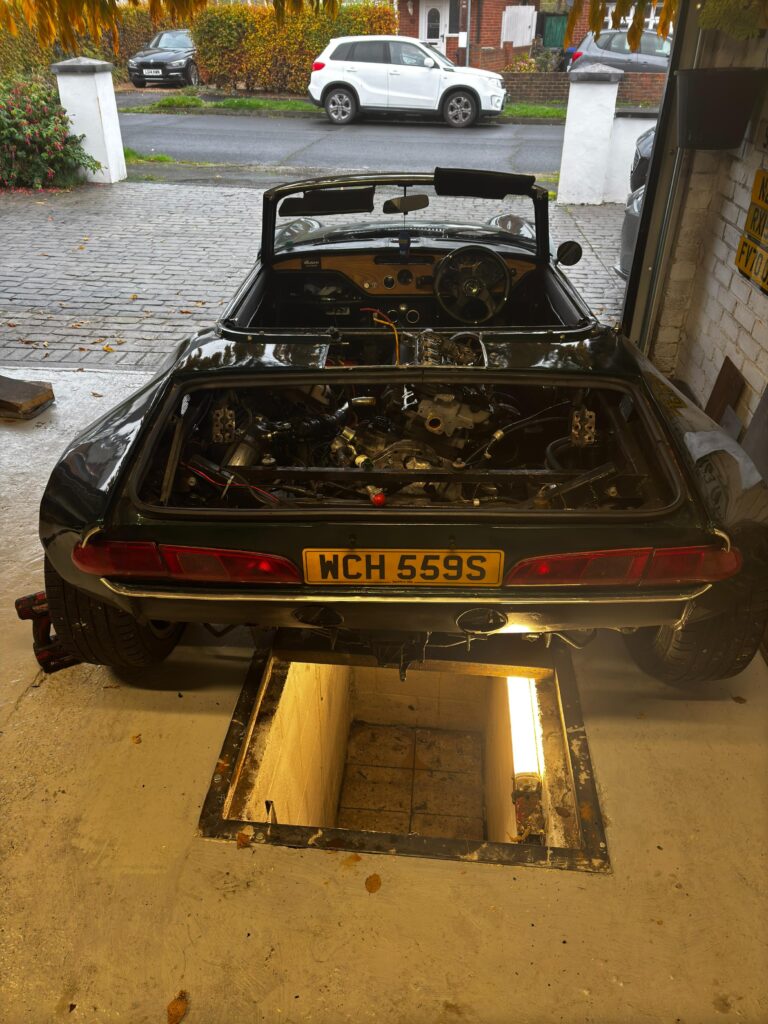
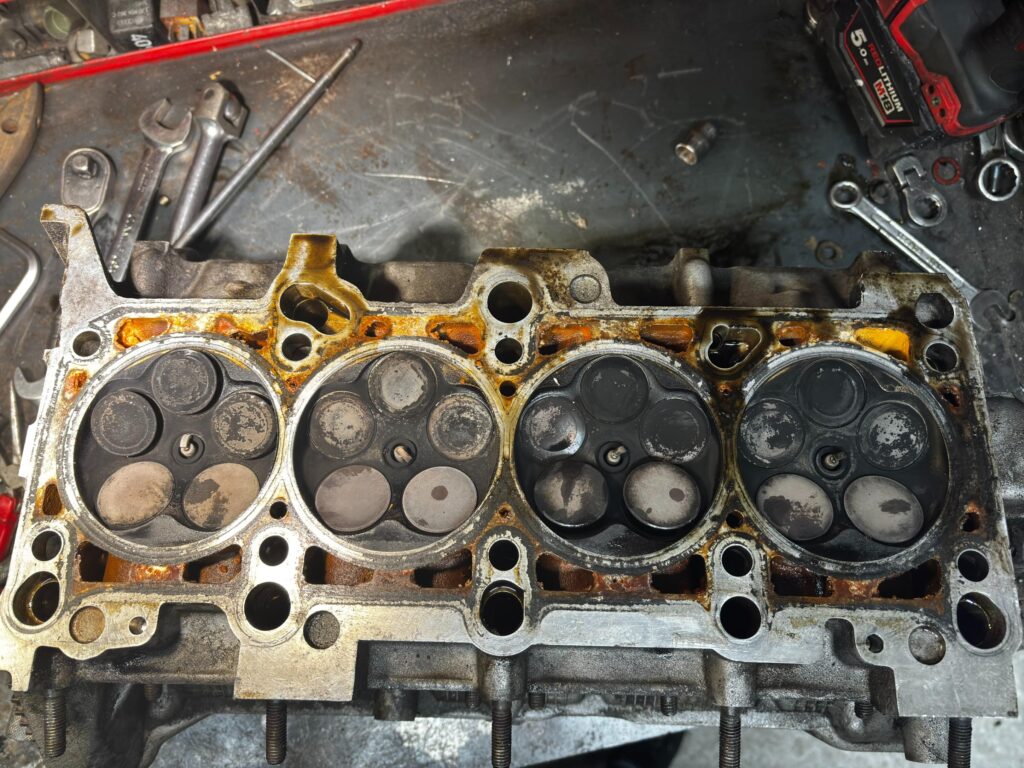
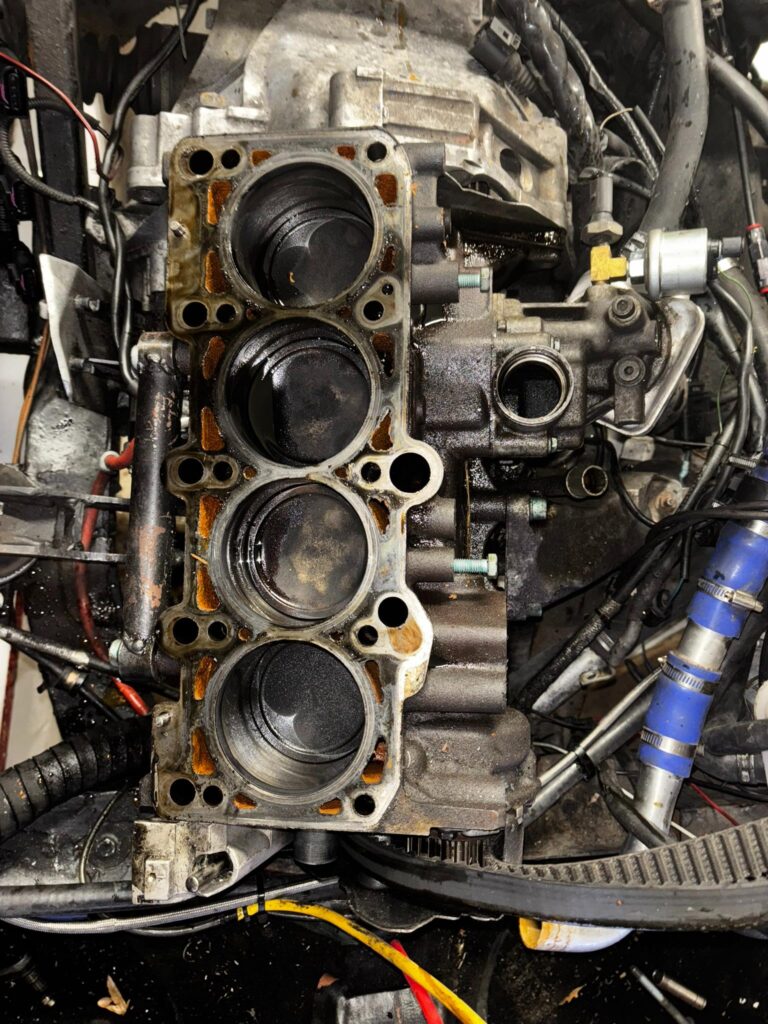
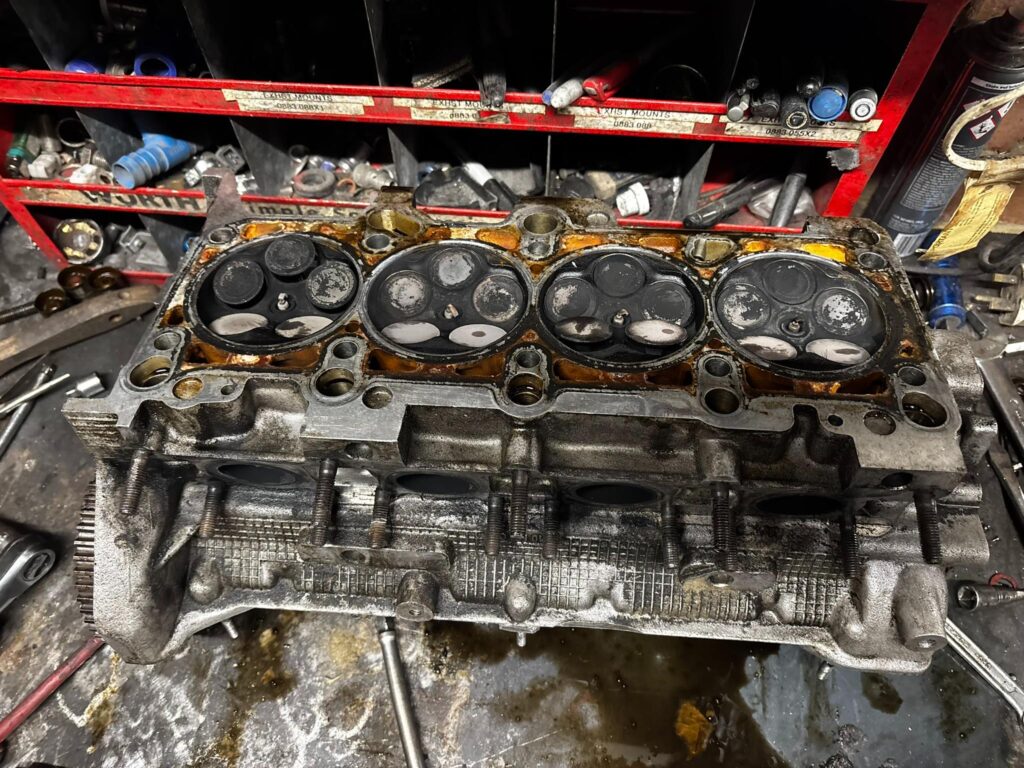
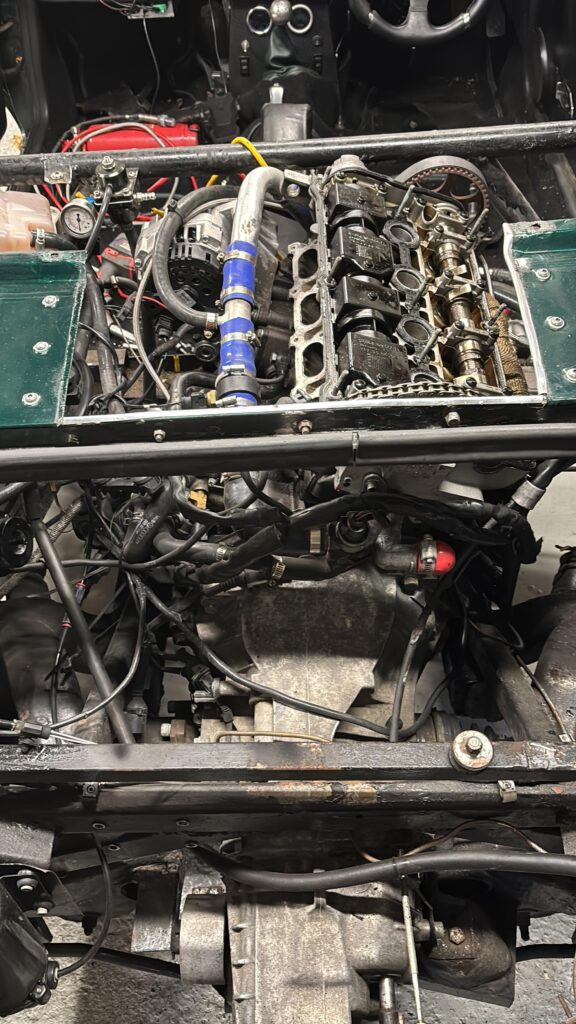
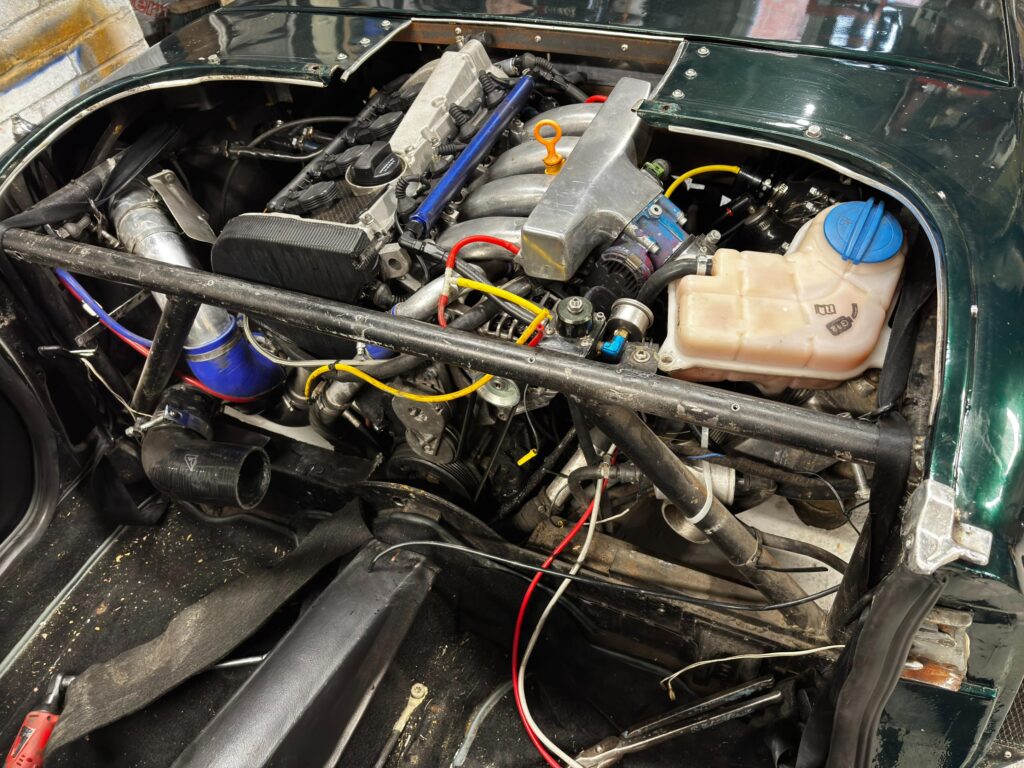
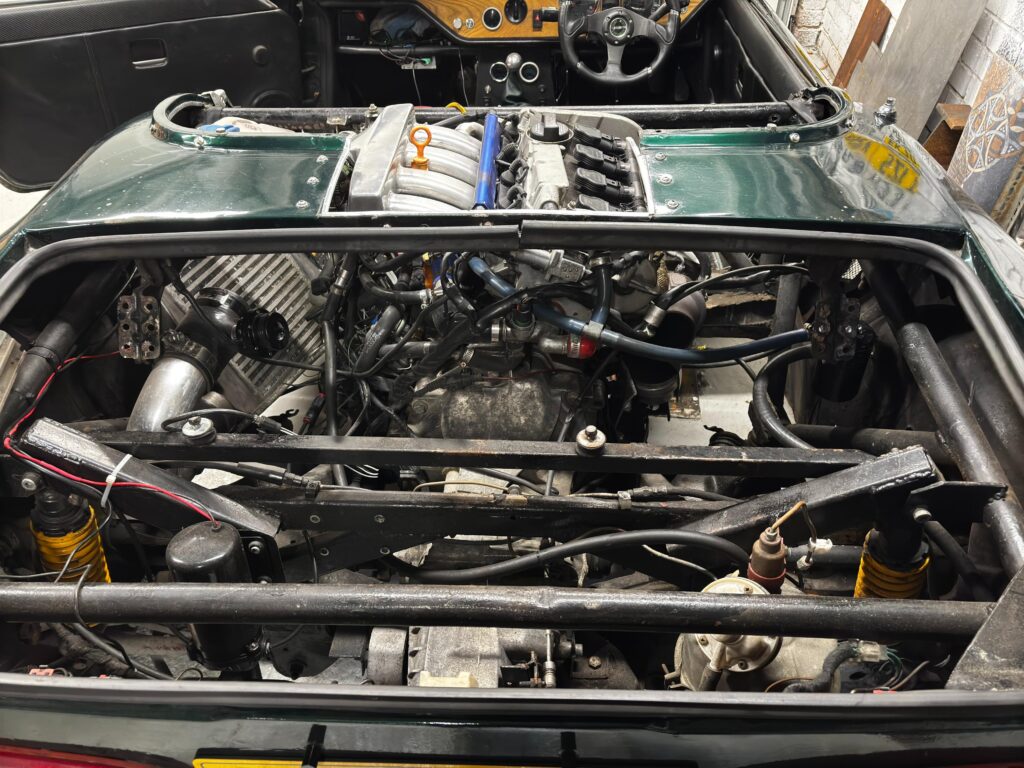
30th December 2024
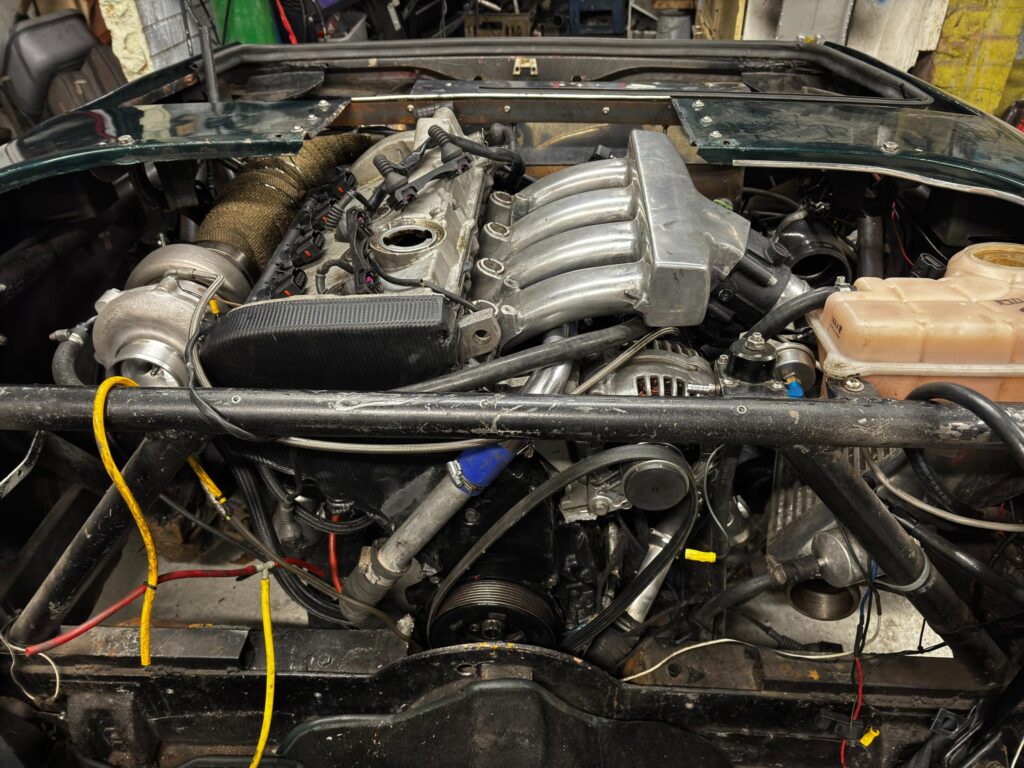
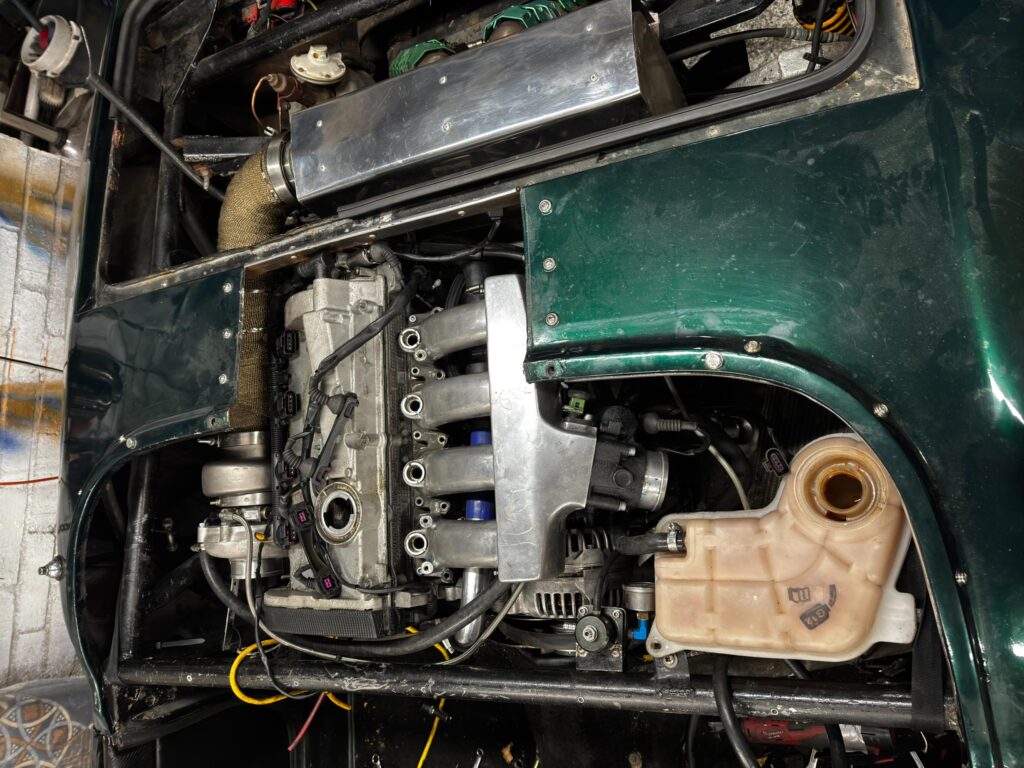
Where does time go? The new engine is back in the car and running, I had to buy 2 temporary bucket seats to take it for a drive, as I don’t have my ones back yet. Hopefully i will get them back soon.
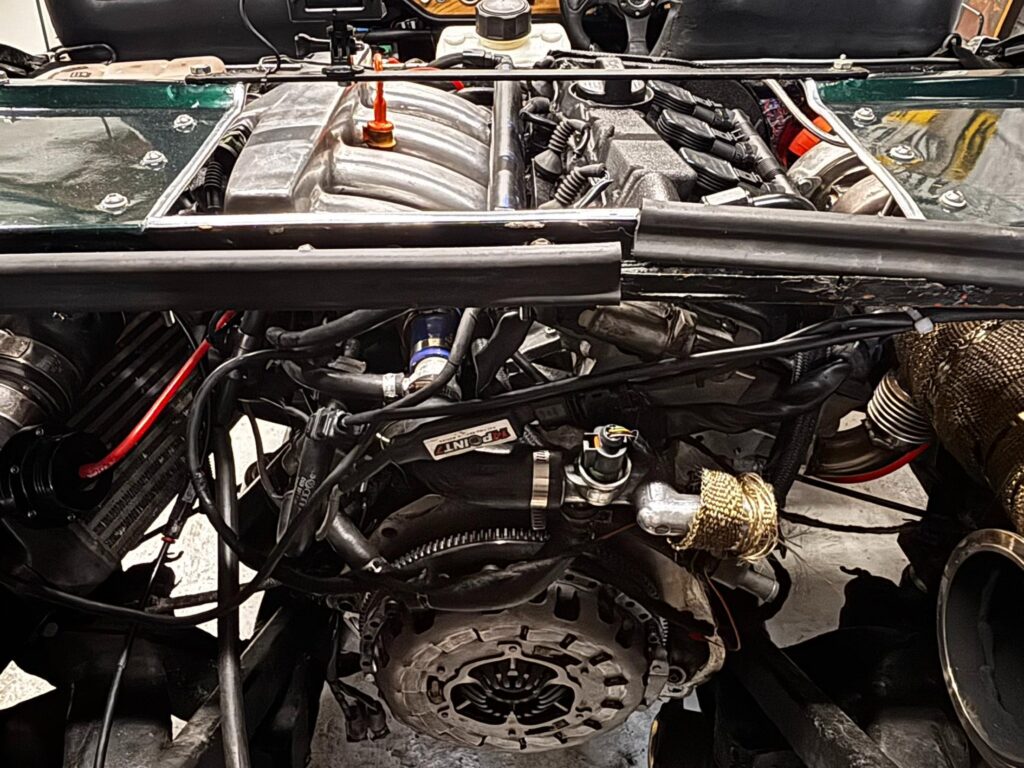
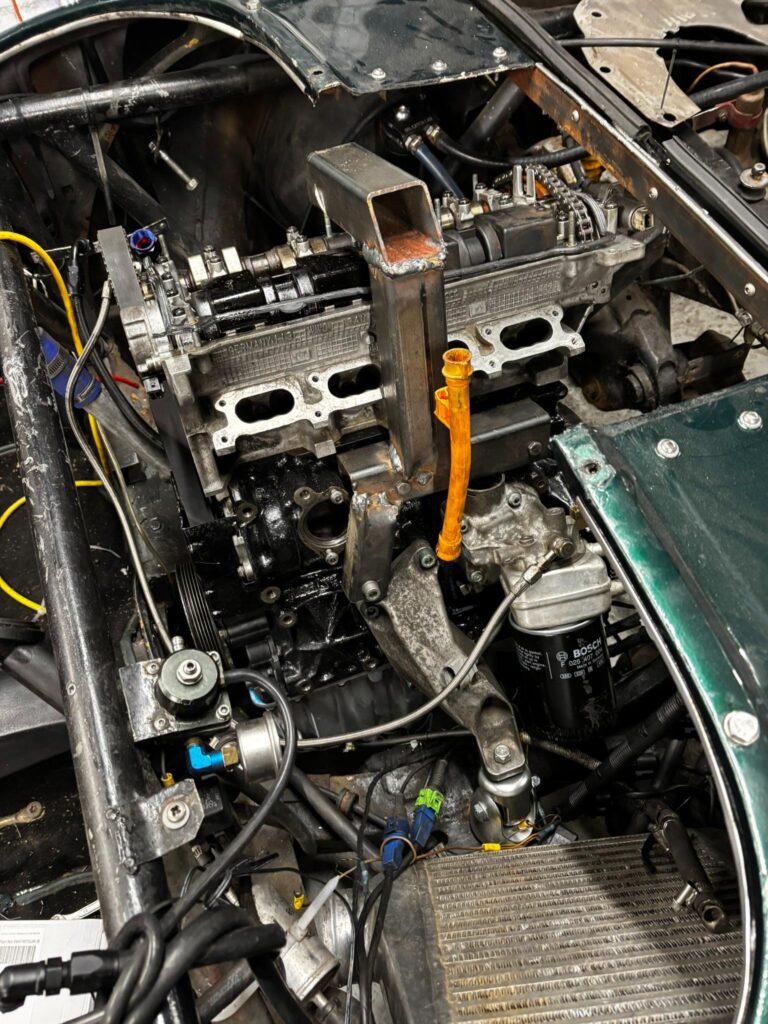
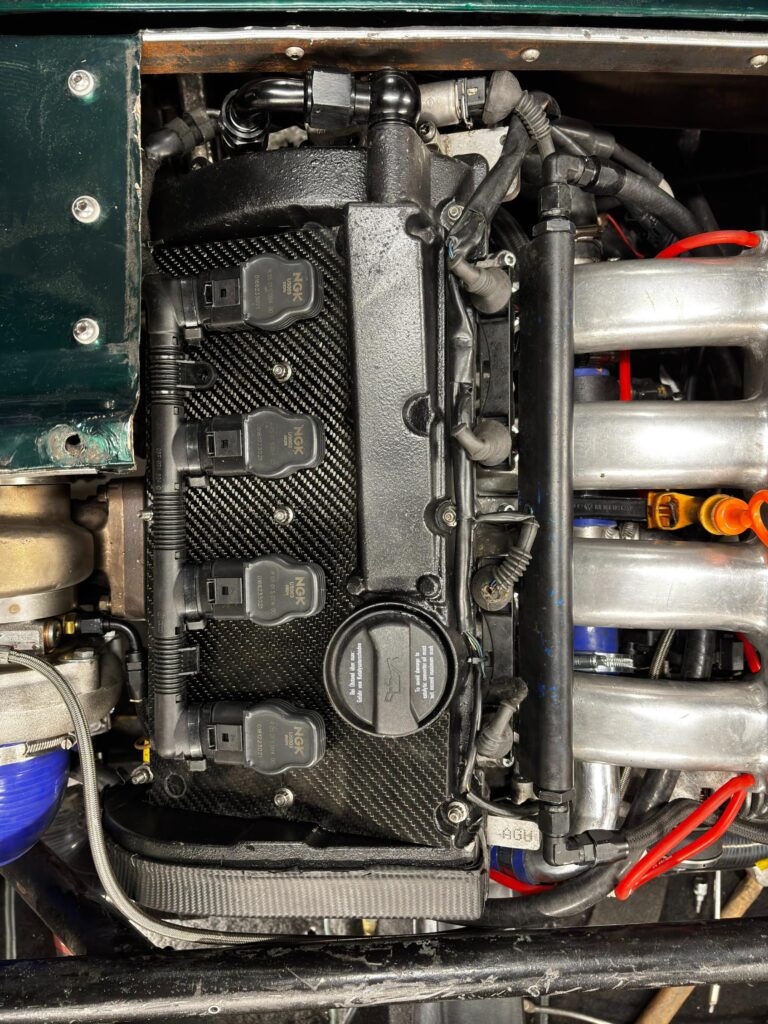
The engine went back in very easily, once through the engine compartment hole, it just dropped onto the new 034 billet engine mounts.. I had to fit the clutch after the engine went back in as there was not enough clearance with it fitted. Before fitting the engine I also fitted a new sump, the old sump had bad threads on the sump lug and turbo drain.
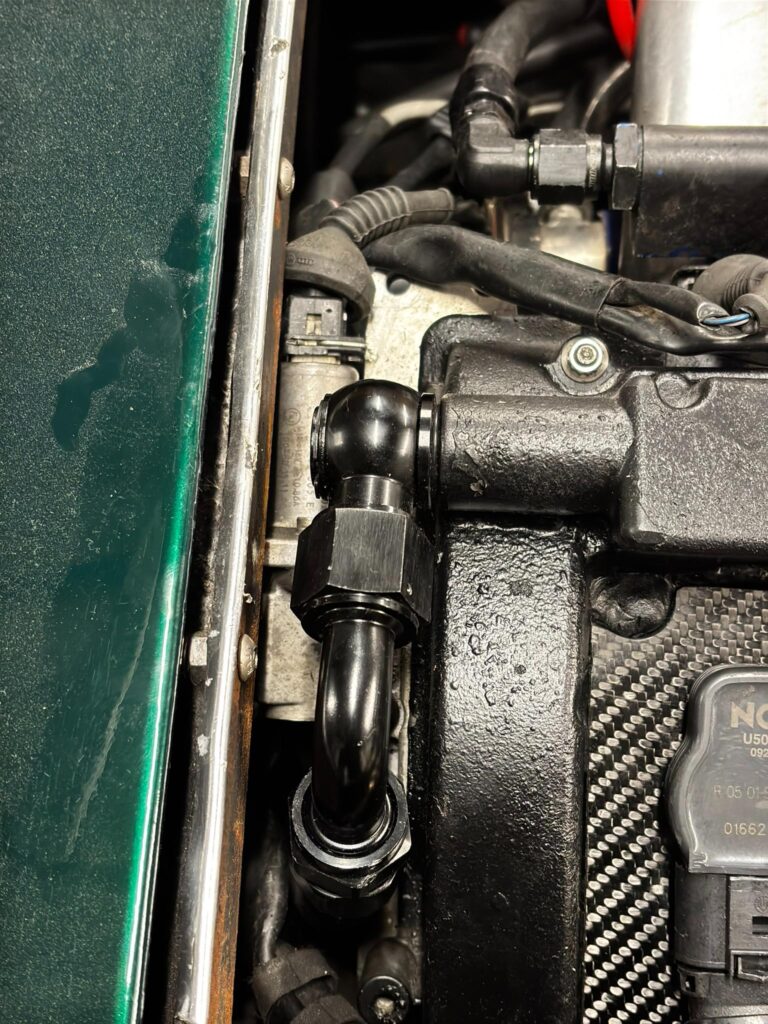
The turbo drain, crank case vents, and turbo cooling connections are all -AN fitting, the oil and vent -10 and the coolant -6. this makes it look so much neater, no more unsightly jubilee clips.
The only sad point, was I was not able to fit my new IE inlet manifold, the space was just not big enough, to make matters worse the flange cracked when I test fitted it. So that went on Facebook market place, and someone bagged a bargain.
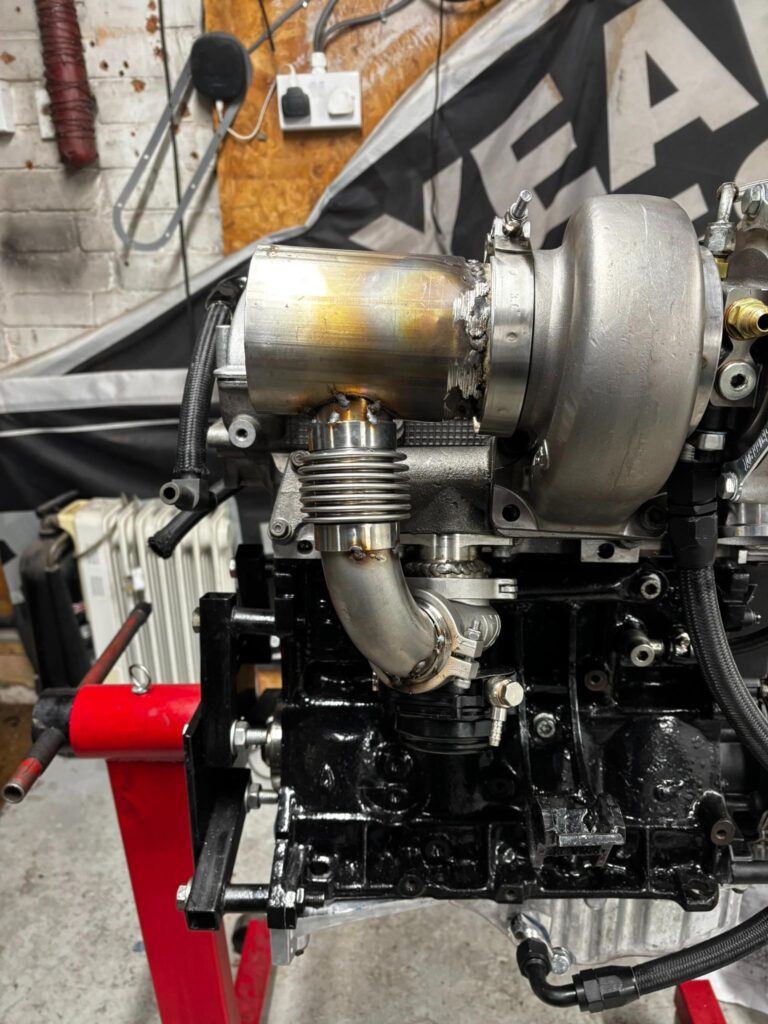
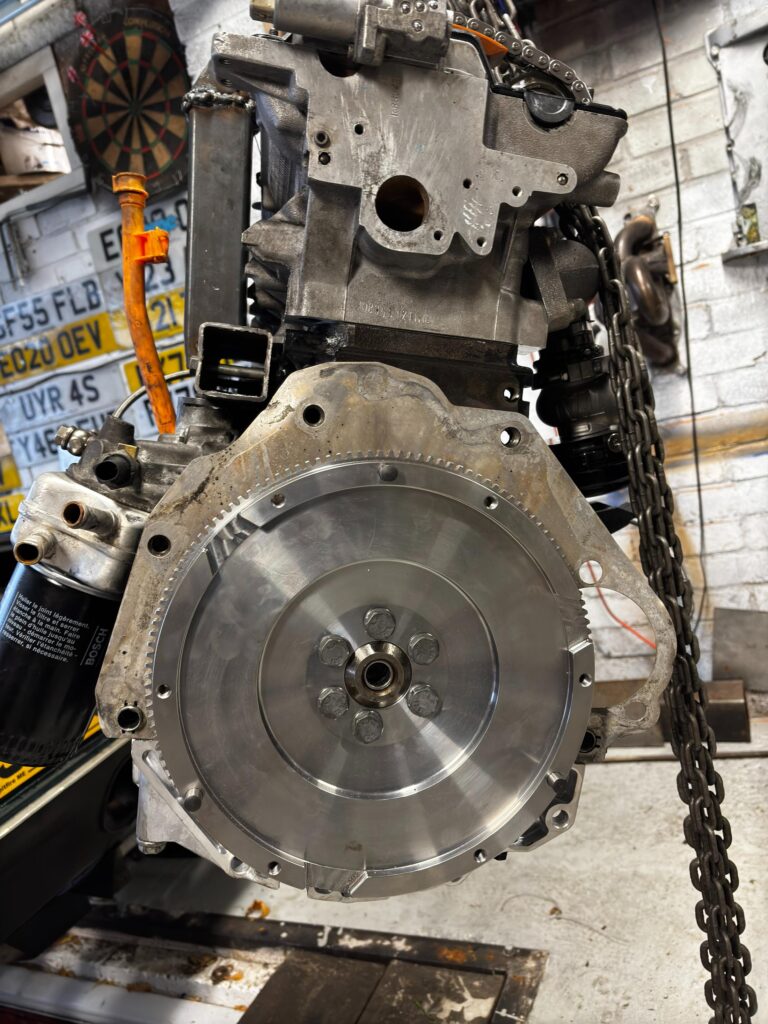
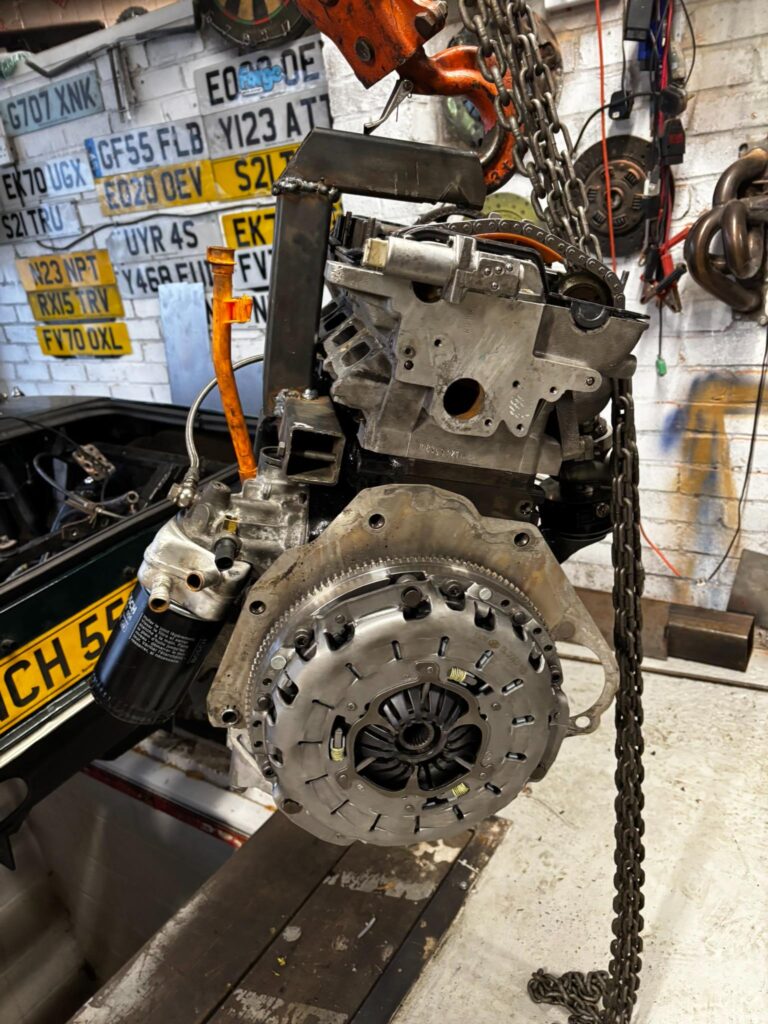
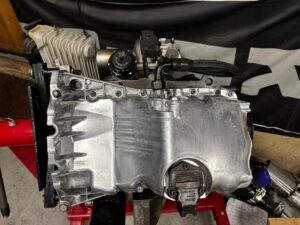
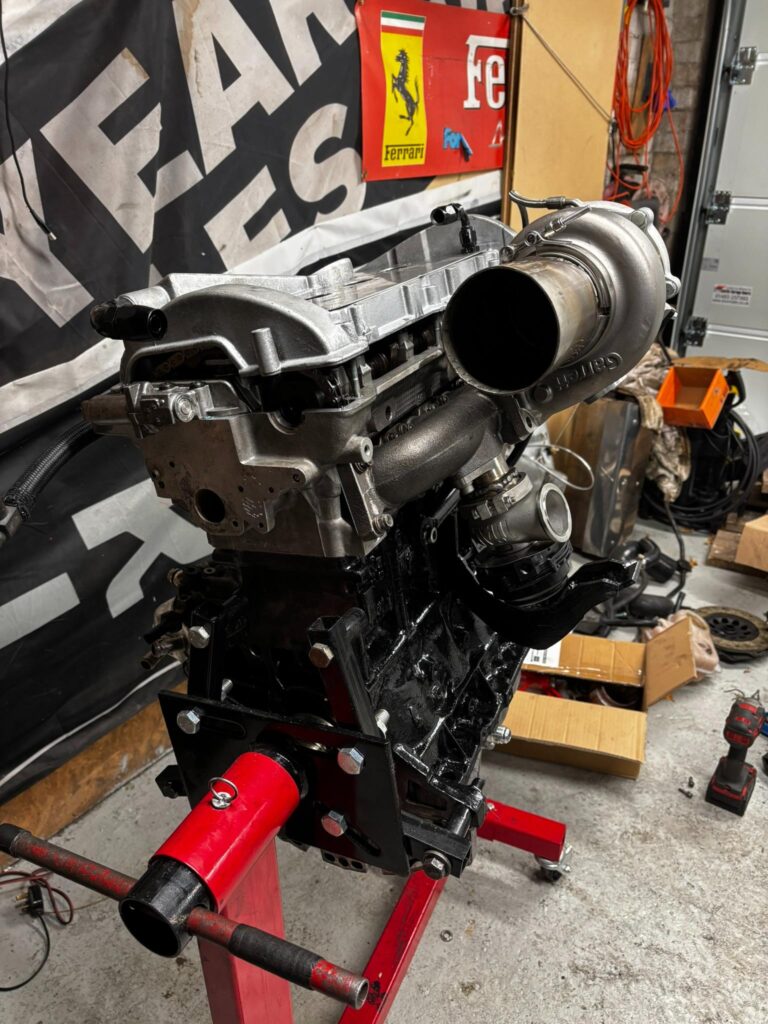
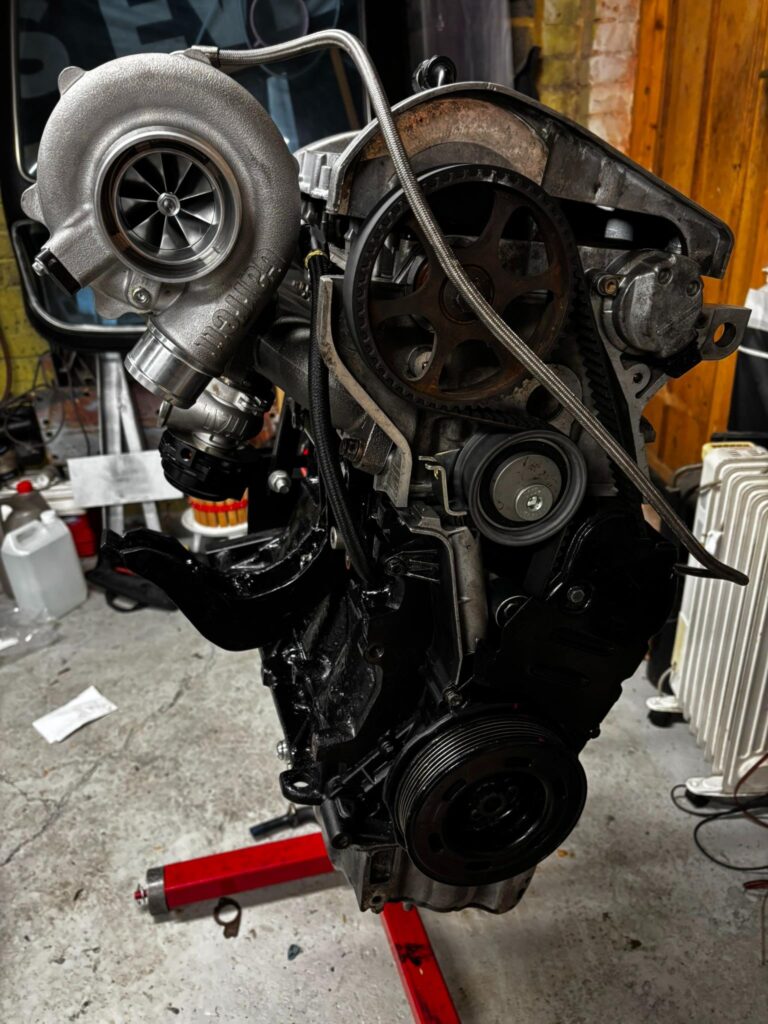
once back in I made the exhaust, this 3 1/2″ from the turbo and to the box, the old exhaust was 3″. I also broke open the exhaust box and made a new 3 1/2″ baffle, so there are no restrictions at all.
When everything was back in and connected up, I turned the starter key, expecting it to crank at least once, no.. It fired first turn.. and it sounds epic.
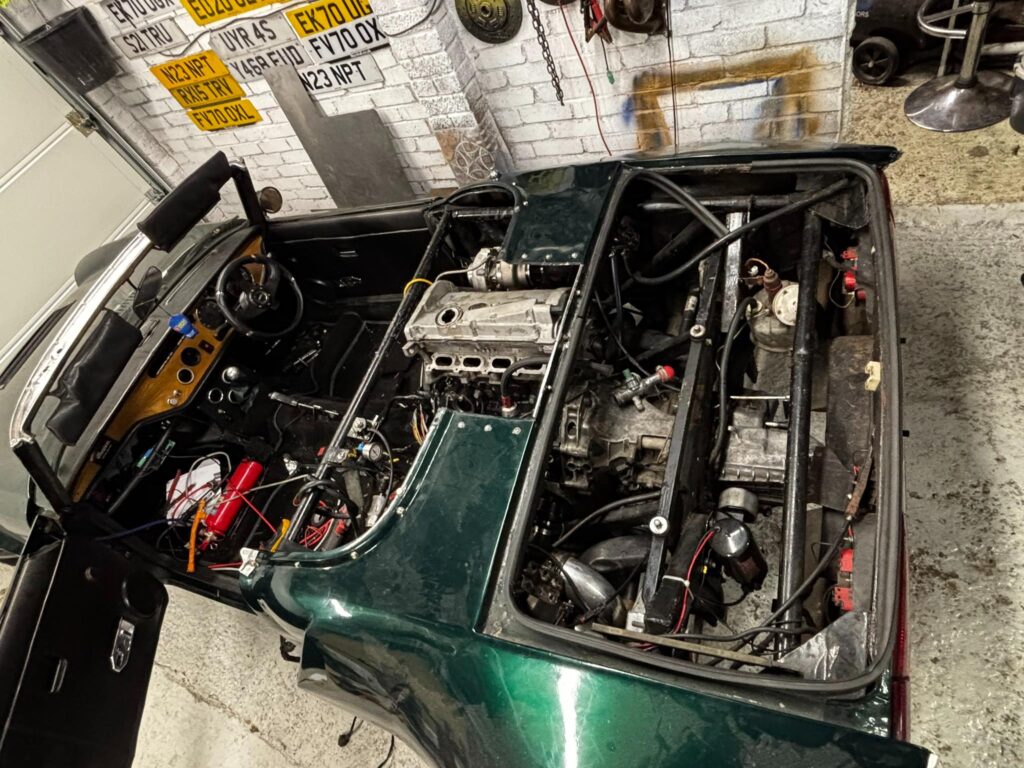
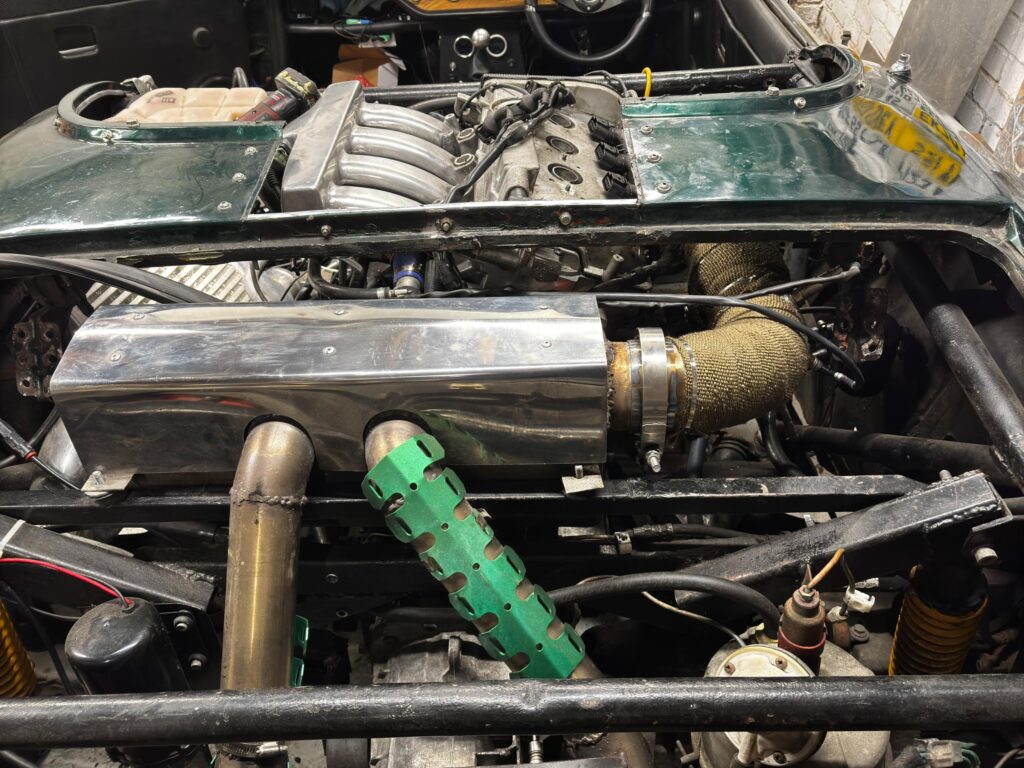
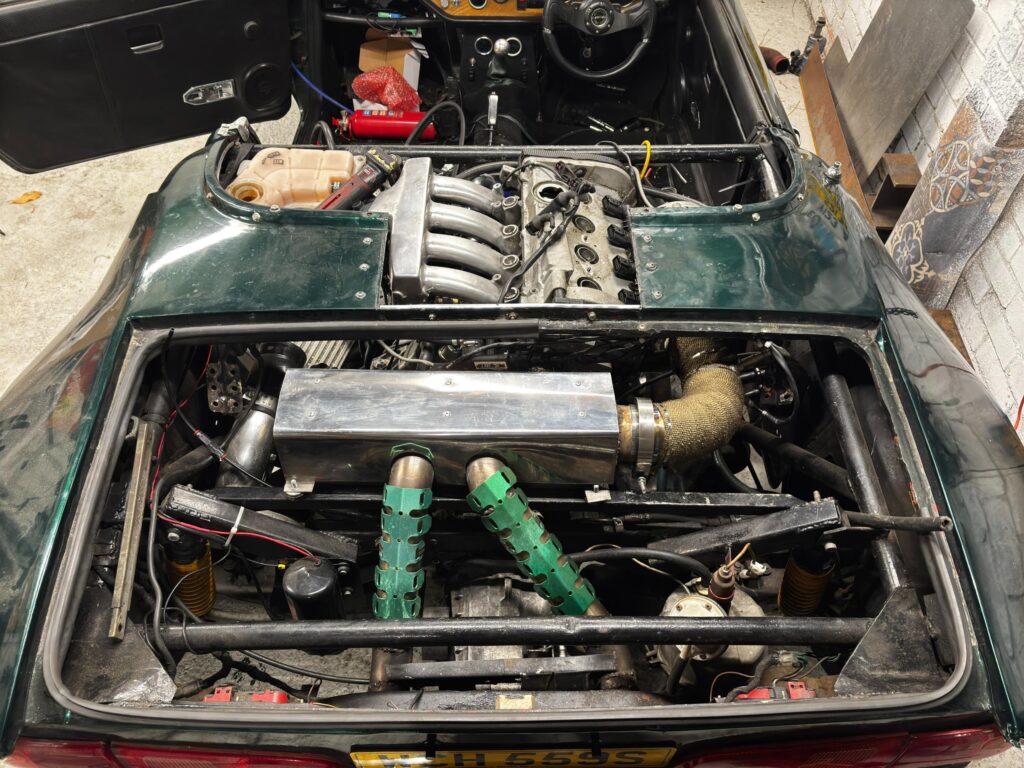
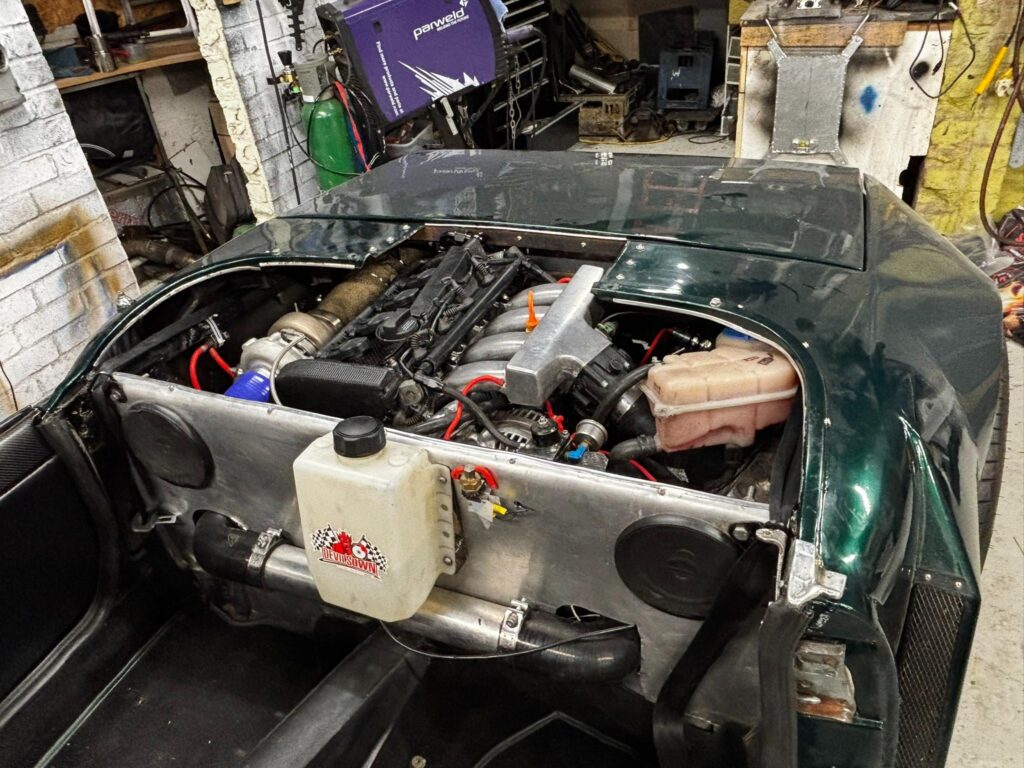
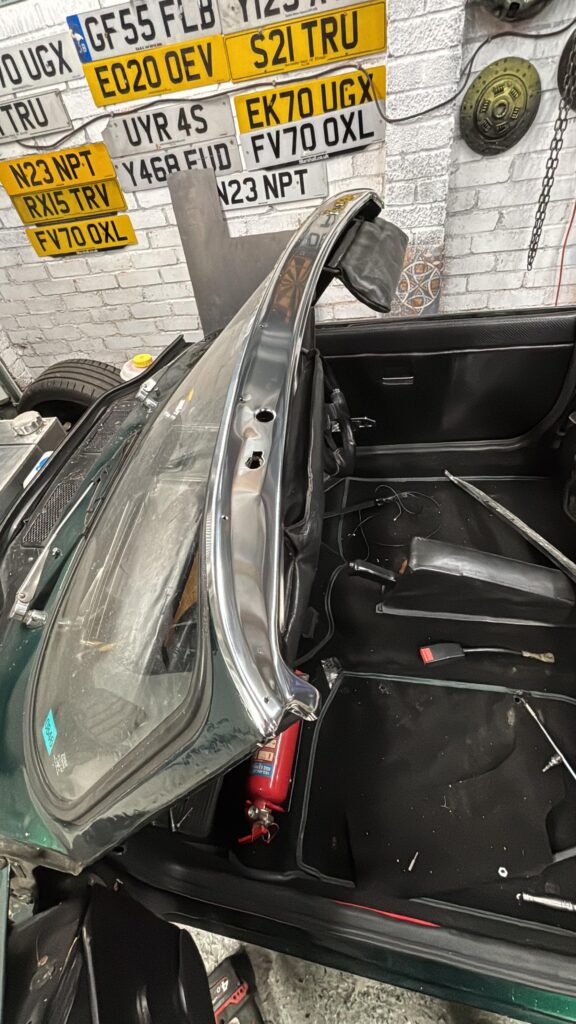
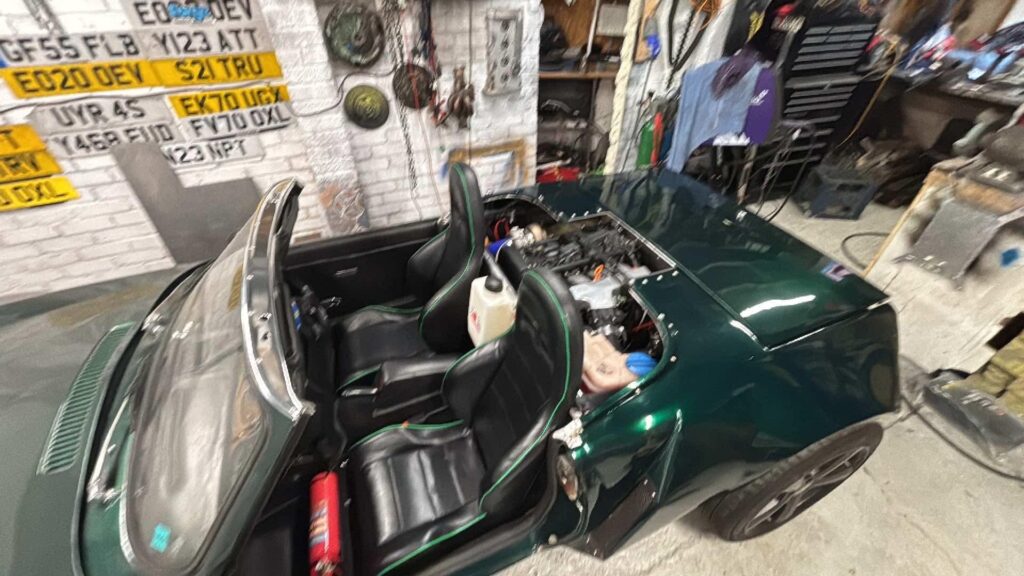
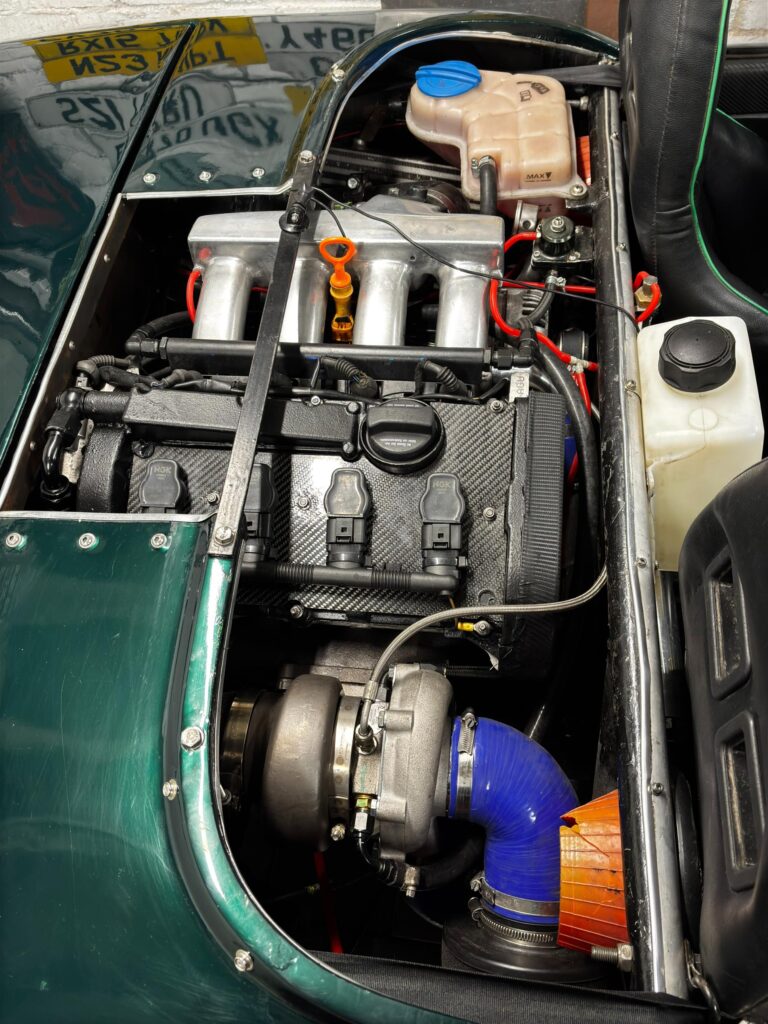
I have also fitted a new chrome trim to the top of the windscreen , the old one was all scratched and very old. Below is a video that sum sit all up..
Now I start the break in process.. 26 miles, then oil and filter change, 200 miles, then oil and filter change then fill with good oil and get it mapped..
17th January 2025
The first 26 miles started off nicely. I didn’t push the car, lots of revs but not fast. I noticed the can would not boost higher that 8 psi, but i put that down to the weak spring in the wastegate. then.. the car died, 15 miles from home dead in the middle of the road.
The fuel pump died. I checked the part number on my old pump, I thought it was an Bosch 044. I made a mistake and bought the wrong one back in 2020. This was a 0580254910 which is only capable of 275bhp.. so I have been really thrashing it. I am surprised it lasted that long.
So I have ordered a Bosch 0580464200 “200” fuel pump, this is the upgraded replacement to the 044 fuel pump, lighter and stronger. I also took the “tial” wastegate off to test the spring, it turned out that wasn’t working; I had bought a Chinese copy, he hadn’t lasted 26 miles 🙂 So I have now bought a genuine Tial, I have set the spring to ,8 bat, that should give me about 22 psi of boost.
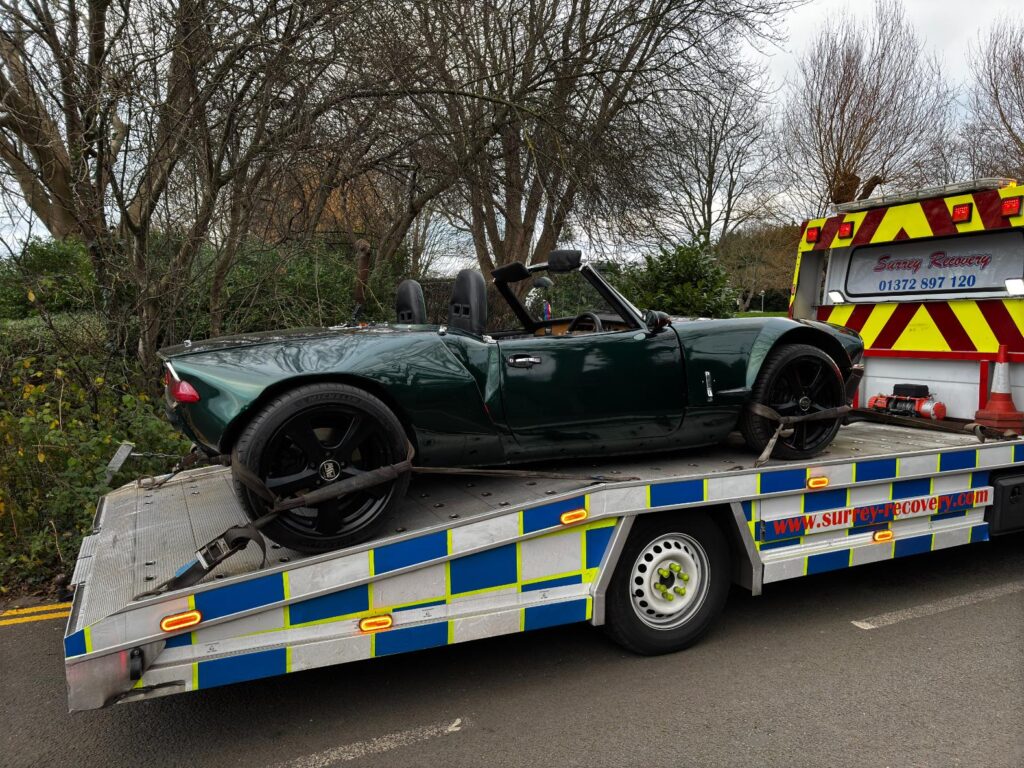
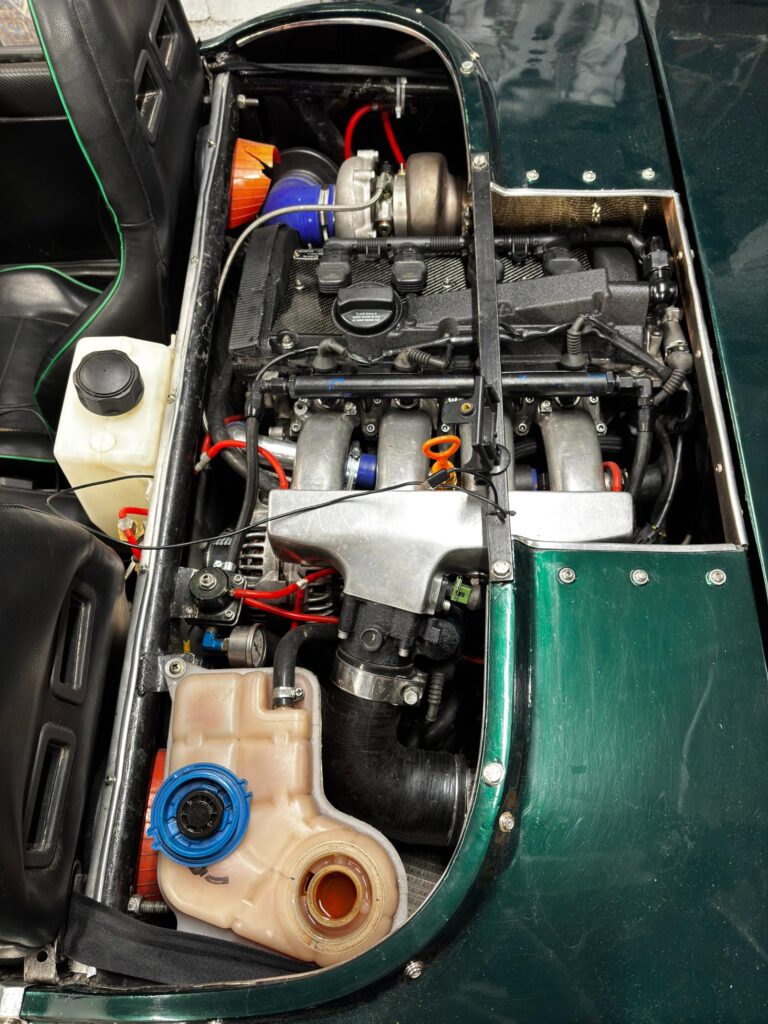
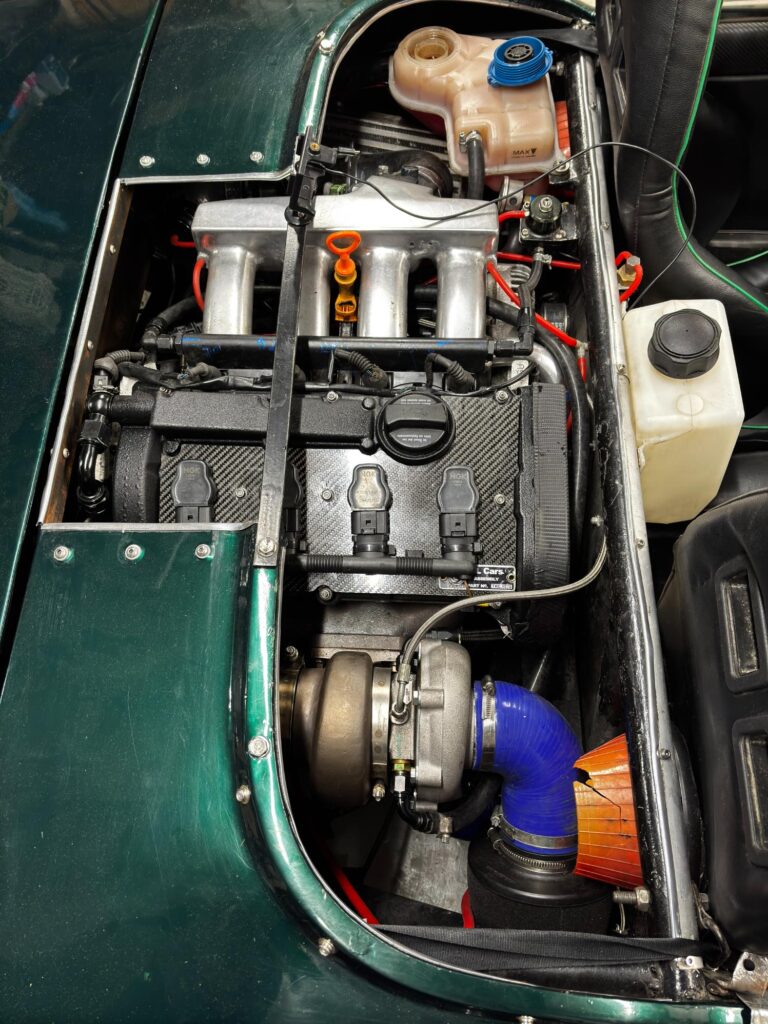
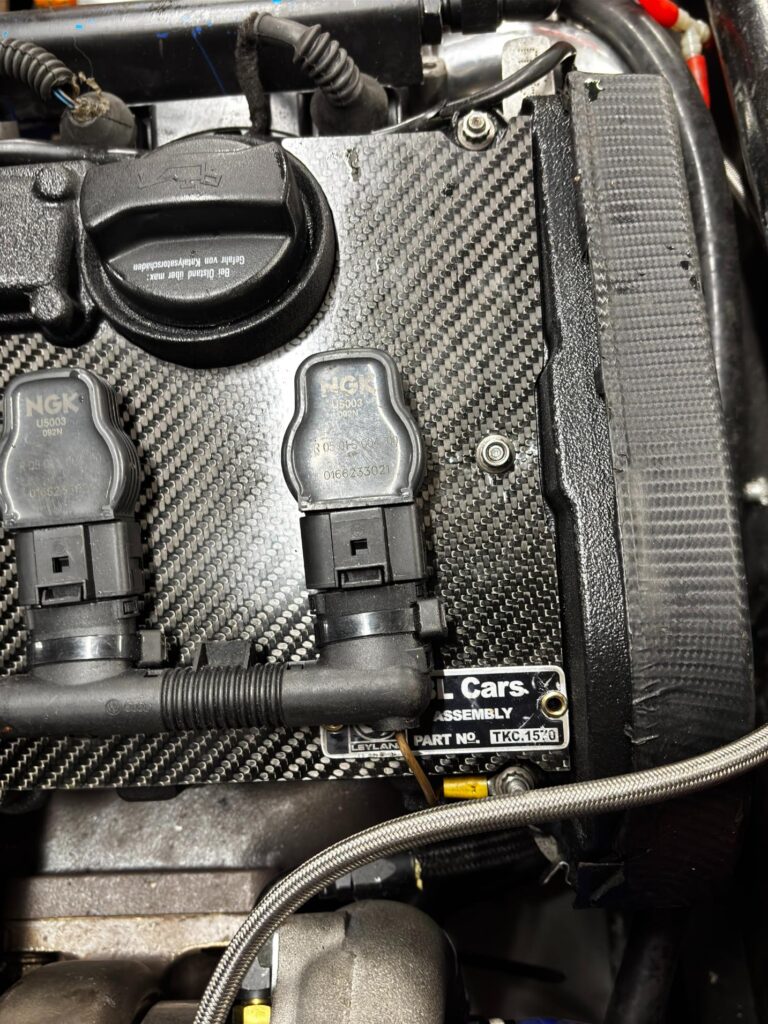
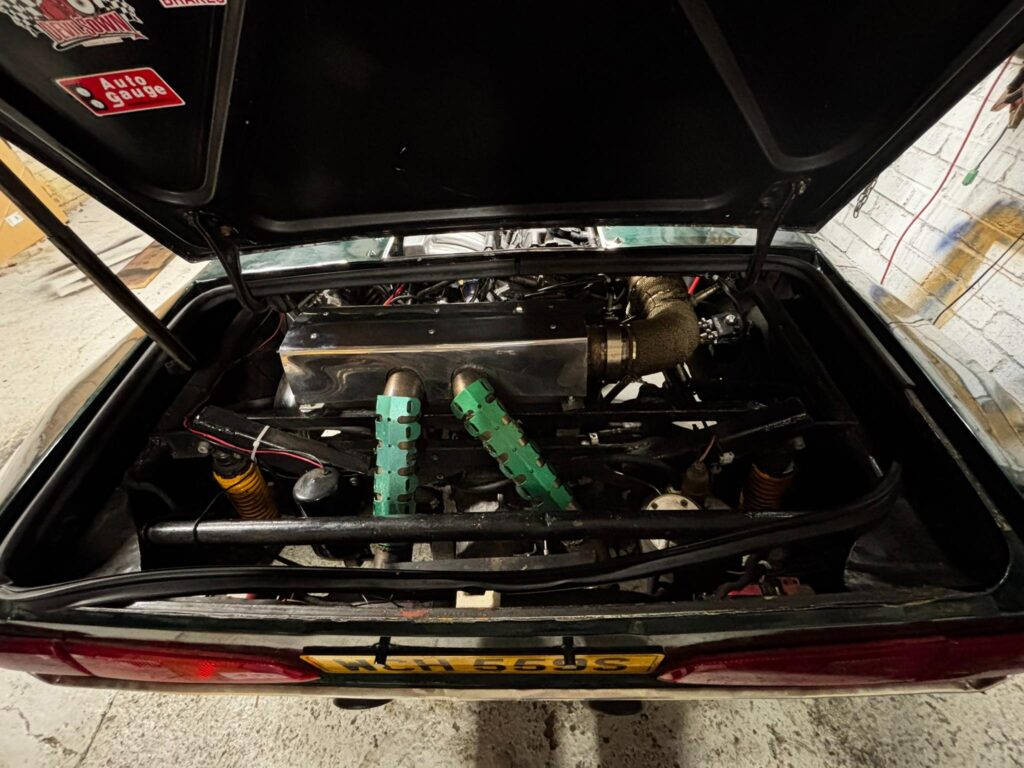
Oil and filter changed, and back out on the road.. The car drives really well, but feels slow, still not boosting above 8psi.. Turns out I missed a clamp on the boost pipe by the manifold.. The pipe had blown clean off..
22nd January 2025
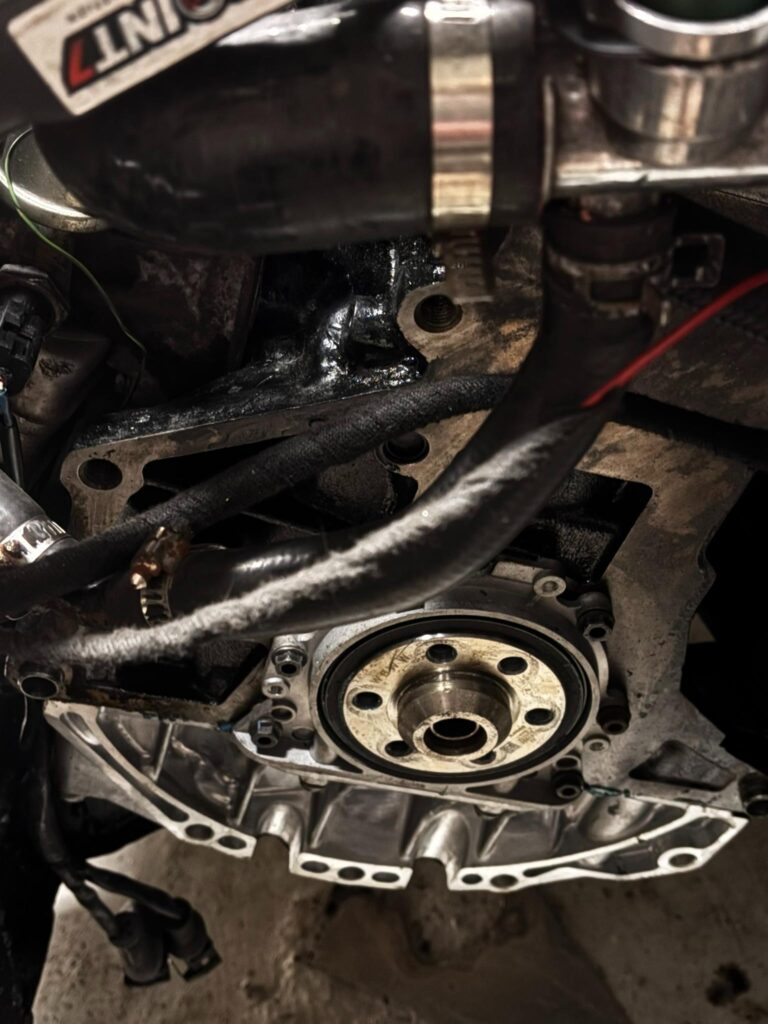
the poor car is still off the road. I noticed a nasty oil leak dripping down between the bell housing and the block. It looked like the rear crank seal was leaking. I thought it might have not seated properly. So I stripped the car down again and pulled the gearbox, clutch and flywheel off. Nothing. the rear seal, was perfect. After some investigation i saw that the oil leak was coming from the oil pressure sensor which was really loose.
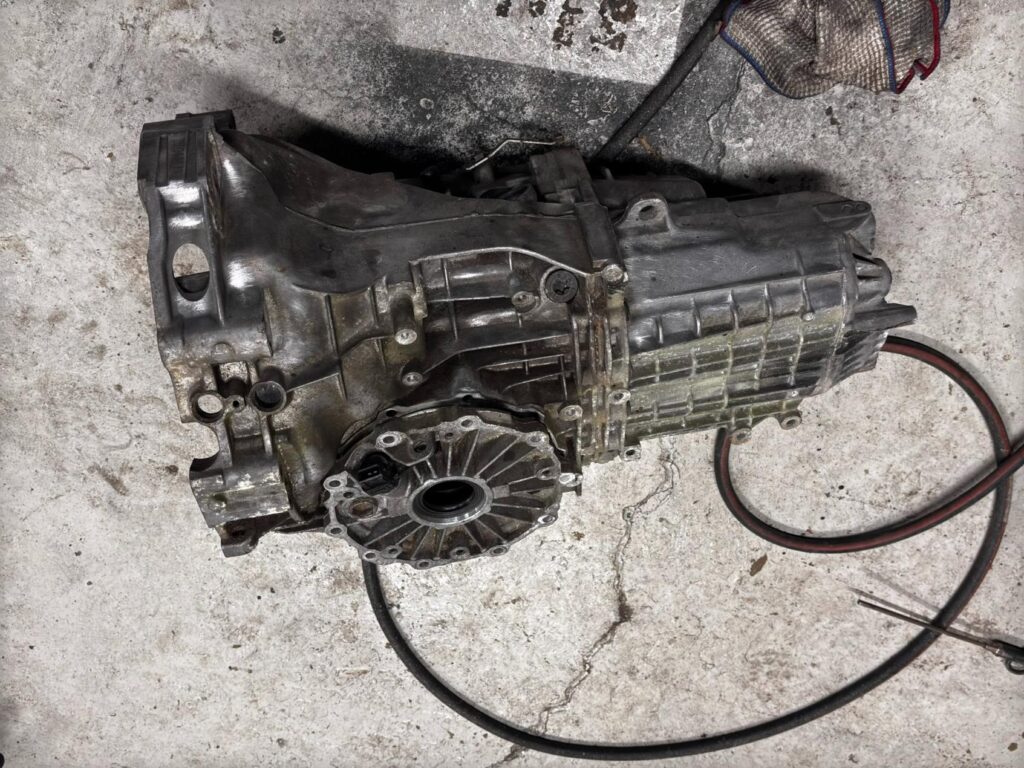
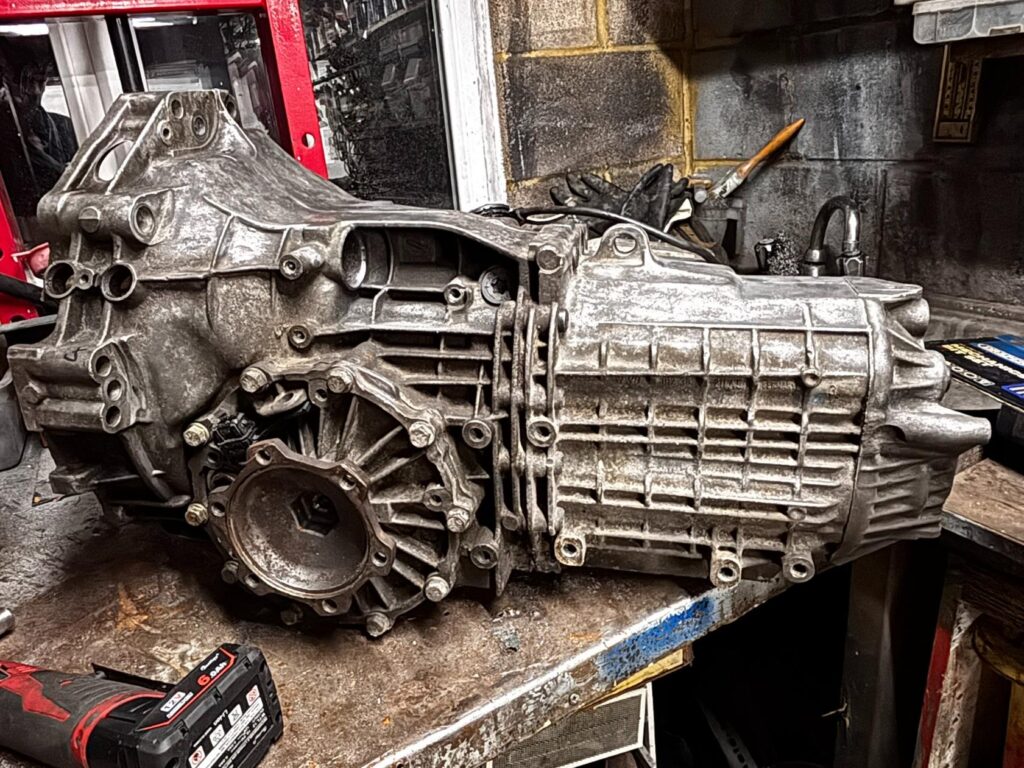
Whilst the gearbox is out, I am going to swap to the petrol transaxle. The gearbox I had fitted to the car was a diesel ENW box. This has nice long gears, the original gearbox was a ENZ, with much higher gearing. For when it goes to me mapped, it is better to have that box in the car.
But. to fit that gearbox I need to build a no limited slip differential and give is a good clean, as the box has been stored in my back yard for nearly 3 years. So new universal LSD ordered… A job for later this week.
